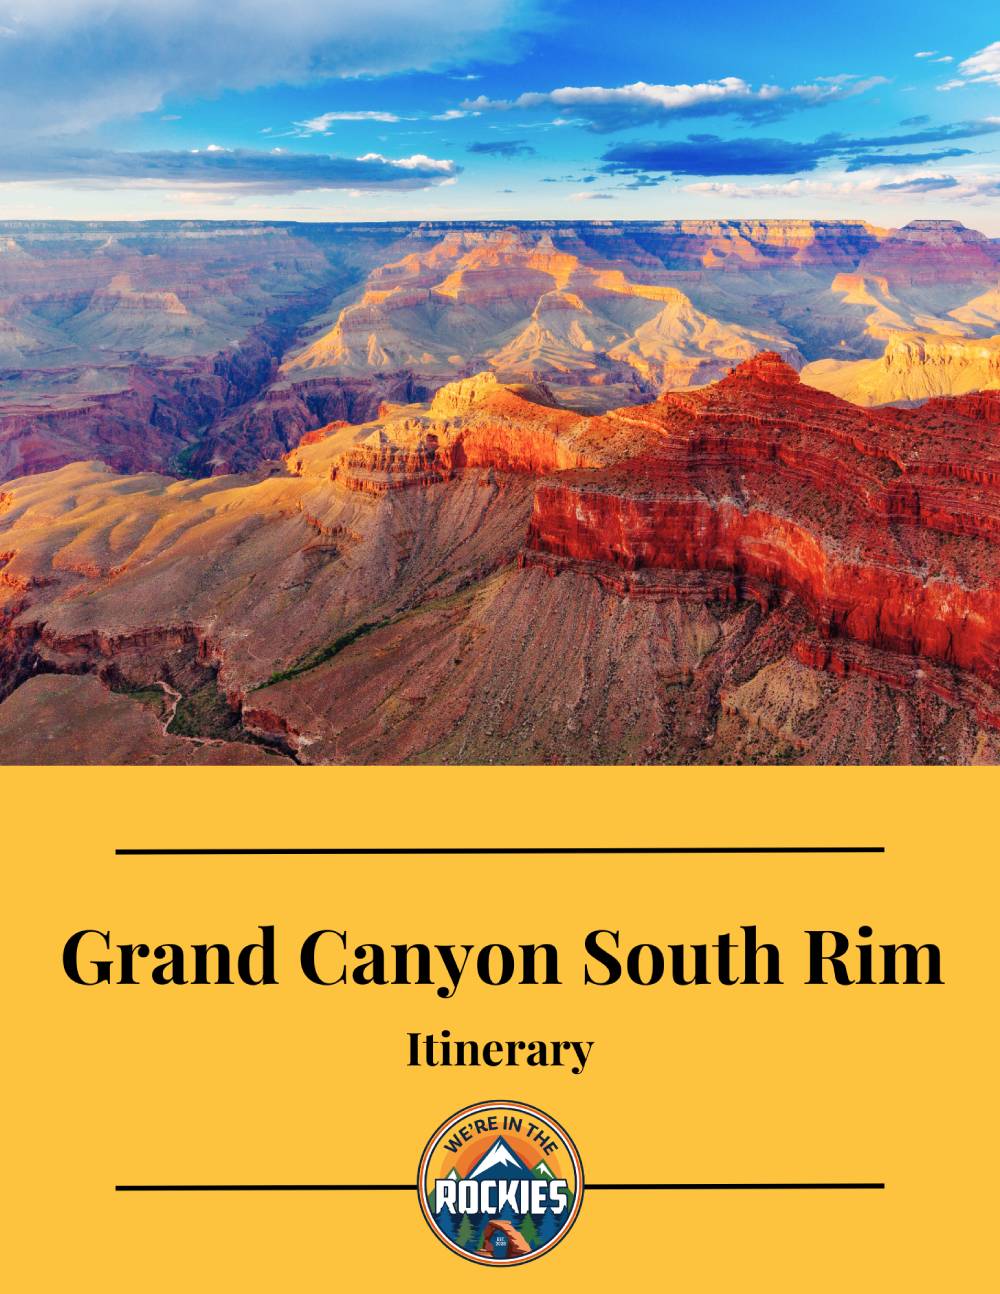
If you’re visiting the Grand Canyon, and you’re anything like us, you probably aren’t planning on hiking 22 miles across the Grand Canyon. But you might be wondering, “Are there any hikes I CAN do while I’m there?”
There are 5 “day hikes” at the South Rim of the Grand Canyon (the rim most people visit), which are all doable if you’re in average condition and if you prepare properly. These trails are the Rim Trail, Bright Angel, South Kaibab, Hermit Trail, and Grandview.
Since 90% of visitors go to the South Rim, we’ve covered the North Rim hikes in our North Rim post.
IMPORTANT: The North Rim of the Grand Canyon recently experienced extensive damage due to a forest fire and will remain closed throughout the 2025 travel season. Visit the NPS Site for more up-to-date information.
We’re Matt and Cheryl and we write travel guides to help people visit the West and we love to hike. The Grand Canyon is one of our favorite places to visit. Read on for our top hikes and tips for hiking in the desert.
In this post, we will cover
Hiking in the Grand Canyon is NO JOKE. All hikes (except the Rim Trail) are STEEP, and HOT in the summer. Most mountain hikes involve climbing at the beginning and then getting to walk down the mountain at the end. The Grand Canyon is deceiving because you go down the first half and up the second half. Since going down is easy, it’s easy to go TOO FAR.

The first hike is the Rim Trail. This is a flat trail that goes along the edge of the canyon rim, providing stunning vistas of the canyon interspersed with trees from the forest above.
This trail is technically a 13-mile trail that goes from Hermit’s Rest to the South Kaibab Trailhead but you can walk any section of it. The most common area is from Mather Point to the Grand Canyon Village, which is about 3 miles, but you can shorten that as well.
Here are three things I like about the Rim Trail:
Finally, in between Yavapai Point and the Grand Canyon Village is a display called the Trail of Time. It is designed to be a geological timeline. Each meter along the trail signifies one million years of geologic history.
It helps to give you a sense of deep time and how old the canyon really is.
Along the trail are different displays teaching about the canyon, and different rocks from each layer. Our kids liked finding the rocks and touching them.

Most travelers want to visit the most popular sites and still avoid the crowds. We have a detailed itinerary that gives you a step-by-step game plan so you can get to the best places at the right times.
The remaining four hikes all descend into the canyon

This is considered the most popular trail in the park.
The name Bright Angel comes from the Bright Angel Canyon, which was named by John Wesley Powell when he first explored the Colorado River. The term Bright Angel came from a hymn he remembered while looking at the canyon.
It starts at the Grand Canyon Village and descends all the way to the Colorado River at the bottom of the canyon. But you can just hike down as far as you would like, and then turn around.
There are a few main markers and turnaround points along the way:
At the Grand Canyon, you’ll start at 6800 feet and descend to 5700 feet. A lot of coastal people are not ready for the altitude of the west.
A good thing and a bad thing about this trail is it sits back in a canyon. This provides some shade, depending on when you start, but means that your view of the Grand Canyon below is mostly the same throughout the hike unless you can get down to Indian Garden.
The trail was partially established by the Havasupai Indians but was later taken over and expanded by a private landowner named Ralph Cameron. Cameron charged people a fee of $1 to use the trail. Water and restrooms cost extra.
Download our Free Quick and Easy Guide to the Grand Canyon’s 4 Areas!
He did this because, at the time, it was the only way from one rim to the other, which is about 11 miles as the raven flies.
You wouldn’t think anyone would choose to use a grueling trail like this to get to the other side of the canyon until you realize that to drive around to the other side takes over 4 hours today, so imagine how long it took before the automobile.
Cameron was a bitter enemy of the National Park Service, so when it was created as a national park, he maintained ownership of the trail and continued to charge tolls.
This prompted the two other trails to be built to get around Cameron’s irritating toll: the South Kaibab and the Hermit.
Discover: Grand Canyon Beginner’s Guide: Itinerary + Lodging & Tips

The South Kaibab Trail was one of these trails. Today, this trail also goes down to the Colorado River, where it meets up with the Bright Angel Trail, becoming one trail and continuing to the North Rim.
Confusingly, this trail goes through Bright Angel Canyon but it’s called the South Kaibab Trail.
There are two main things to know about the South Kaibab Trail:
1. It’s only accessible by shuttle. The orange shuttle line will take you there, as well as the hiker’s express, which runs very early in the morning, typically for hikers going from rim to rim.
2. There is no water on the trail. So you must carry a lot of water with you. As with Bright Angel, there are also landmarks on this hike:

I went to Cedar Ridge, and it was DEFINITELY worth going beyond Ooh Aah Point. Cedar Ridge is a little plateau that provides more extensive views of the canyon, and the canyon walls behind you.
It also reminded me a little of being on top of Angels Landing at Zion National Park, with some drop-offs on both sides.
I highly recommend getting to Cedar Ridge.
Since the South Kaibab Trail and the Bright Angel trails are the only two that get down to the Colorado River from the South Rim, they are both used for mule rides. Some people complain about the manure on the trails, although I didn’t find it annoying at all.
See the tips below for etiquette around the mules.

The next two trails are mule-free trails. They also have far fewer hikers because they aren’t marked or maintained as well as the Bright Angel and South Kaibab. They also do not have water.
Hermit Trail was one of these trails built as an alternative to Cameron’s Bright Angel tolls. I really wanted to hike this trail but didn’t have the time, so I’ll have to wait for next time.
It’s located at the Hermit’s Rest stop, which requires a shuttle to get to during the summer months. I’ve heard glowing reviews of this trail, mostly due to the lack of crowds and mules.
It also has turnaround points:
It’s recommended to check with the Backcountry Information Center for trail conditions before attempting this hike.
Also, remember that it doesn’t have any water and that it’s just as steep as the other hikes.
This is an old mining trail, and as such, is not maintained well. It’s also steep and does not have water. Of the 4 main south rim hikes into the canyon, I believe this is the least traveled, but there are some people who hike this trail down to Horseshoe Mesa and camp overnight.
To get to this hike, you must drive on Desert View Drive to Grandview Point. Again, there are common turnaround points, but my understanding is that this hike isn’t marked very well. It’s also steeper than the other hikes.
It’s recommended to check with the Backcountry Information Center for trail conditions before attempting this hike.
If you’re hiking in the summer and you’re going into the canyon, it’s best to start before 8:00, and preferably before 7:00. Although the temperatures aren’t usually as high as they were when we were there, they can still be hot.
And remember for every 1,000 feet you descend into the canyon, the temperatures rise 5 degrees. If you start too late, you’ll have no shade and it’ll just keep getting hotter the farther you go.
Don’t overestimate your ability, and don’t underestimate the canyon. I heard over 600 people require some sort of assistance from park rangers each year due to exhaustion or injuries, and over 100 need a helicopter rescue.
The ranger told us the rescues can cost you a lot of money, especially if the park helicopter is already being used for someone else and they have to call in a backup.
If you really want to hike into the canyon and you’re not much of a hiker, I recommend getting used to walking uphill somehow, like walking stairs at the gym.
Although we aren’t hard-core hikers, we’re used to steep inclines because almost all the hikes we do involve mountains. But if you’re not used to it, a little practice would go a long way.
I don’t want to intimidate you too much; it’s really doable to do a 3-mile round-trip hike into the canyon. But one thing we noticed is that when we passed people coming up the canyon, we didn’t see the usual happy hiking faces we usually do at national parks.
It can be a grind.
If you pass mules going up or down the trail, they have the right of way. The general rule is to move to the side closest to the canyon wall (the mules like to walk along the edge of the trail). But always do as the trail guide tells you.
If you’re interested in riding a mule, make sure to see our article on Grand Canyon Mule Rides.

It’s crucial to bring the right gear with you for your Grand Canyon hike. Here’s a list of things to consider bringing, along with an explanation of why and our recommendations.
We’ve already done a post for our recommended hiking gear that you can read through for additional ideas. But the list below includes our opinions specifically for the Grand Canyon. We encourage you to look at both.
You need to bring a way to carry water. We recommend the Camelback Mule because of the amount of water it holds. It holds 3 liters, which is more than most.
It also allows you to carry some of the other things you’ll need, such as…
The Grand Canyon is high elevation, hot, and arid. You’ll exert a lot of energy hiking out of the canyon. YOU NEED MORE THAN JUST WATER if you’re hiking in the summer.
So pack some beef jerky (my fav is Perky Jerky), peanuts, Pringles (since it comes in a canister), and some Gatorade.
I CRAVED Gatorade when I was done and bought some at the store. It would have been a lot nicer to have it on the hike.
![What to Pack for Your National Parks Road Trip [Arches, Bryce, Zion, Grand Canyon]](https://i.ytimg.com/vi/sA2tfjiEufk/0.jpg)
I was really glad I brought a wide-brimmed hat for my hikes and not just my baseball cap. My father-in-law didn’t, and he was roasting. Any wide-brimmed hat will do, but I loved my Jason Aldean cowboy hat because it looked nice and gave my head breathing space up top.
You should also bring sunscreen, especially if you wear a tee shirt and shorts.
Which reminds me: if you hike 3 miles or less, a tee shirt and shorts are fine. The mule riders going to the bottom of the canyon MUST wear long-sleeved shirts and pants, but I don’t think that’s necessary for a day hike unless you’re hiking over 3 miles round trip.
I would NOT recommend hiking boots. They’re too cumbersome and heavy, especially for the hike up. Rather, go with a pair of trail shoes or running shoes.
My wife swears by Asics. She used to sell shoes, and she’s been a runner and hiker for over 20 years and she loves them.
I used to wear them as well, but recently I had a stride analysis and the store recommended Hokas for me. They were a little more expensive, but they provide better support. And it was NOTICEABLE on the many hikes I did this summer in the Grand Canyon, Bryce Canyon, and the Black Hills.
With my Asics, I could often feel the rocks under my feet on the trail. They were much less noticeable with my Hokas. The soles are thicker and wider, and I really enjoyed them. Perhaps I sound kind of old, but I guess I am. LOL.
Download our Free Quick and Easy Guide to the Grand Canyon’s 4 Areas!
I have hiking poles and love them. They help balance out the weight between my legs and my arms when I hike. Plus they help with stability. The last time I was hiking at the Grand Canyon, I saw a lot of people with them (even younger people!). And many of our followers liked the poles we recommended on our hiking gear page: TrailBuddy Lightweight Trekking Poles.
Whatever you decide to get, make sure they are ADJUSTABLE. Because on the way down, you can lengthen them. On the way up, you can shorten them.
![It's Easy to Get Lost in the National Parks [Don't Make These Mistakes]](https://i.ytimg.com/vi/GKiffhQobz8/0.jpg)
There is no cell connection in the canyon. The Bright Angel and the South Kaibab day hikes are super simple, and you do NOT need a GPS unit.
Hermit Trail and Grandview Trail have more turnoffs and they aren’t marked well. I would just take a map (see below). But if you’re the worrying kind (or just want an excuse to buy a toy:), then you might want to consider buying one.
I don’t know a lot about these, so I won’t recommend a specific one.
Finally, I always recommend carrying maps. I LOVE maps. You can get maps of these hikes on the park’s website. We also include them EXTENSIVELY in our travel guides.
Yes! Planning a trip to the Grand Canyon can be overwhelming in many aspects. We have crafted a detailed game plan for seeing the park (not just the hikes) and getting the most out of your vacation. We have put together must-have travel guides to the Grand Canyon. They include a daily (flexible) itinerary and an AUDIO GUIDE!! Matt shares with you many fun and interesting stories about the Grand Canyon while you drive around the park. It’s like having a tour guide with you in your car!
We have one-day guides as well as a multi-day guide to the Grand Canyon. We also have guides to Zion, Bryce Canyon, Capitol Reef, and more. Check them out! You won’t regret it.
GRAND CANYON GUIDE: To read or watch all of our content about the Grand Canyon, check out our Grand Canyon Homepage
AREAS: The Grand Canyon is divided into 4 areas: The South Rim, North Rim, Grand Canyon West, and the East Side of the Grand Canyon (Page, AZ). Learn about the 4 areas of the Grand Canyon with our Free Printable
THINGS TO DO: There is much more to do than hike and look at viewpoints. Explore Antelope Canyon, ride a mule, or take a ride on the Grand Canyon Railway
WHERE TO STAY: Learn all about where to camp or stay when visiting the Grand Canyon.
WHERE TO EAT: Check out the best places to eat and get groceries at the South Rim
KNOW BEFORE YOU GO: Discover the best and worst times to visit the Grand Canyon
WATCH: Enjoy videos of the beautiful Grand Canyon while learning our best tips for visiting by watching our Grand Canyon YouTube Playlist