If exploring the Southwest is on your bucket list and you don’t mind a bit of driving to get to some remote areas, a road trip through Texas and New Mexico to see Big Bend, Guadalupe Mountains, Carlsbad Caverns, and White Sands is perfect for you! Not only will you get away from the crowds and see some beautiful scenery, but there are also some great, authentic western towns to visit and cool roadside stops.
To properly visit these national parks in Texas and New Mexico without feeling rushed, you will need 7 days, including 2 in Big Bend, 1 in Guadalupe Mountains, 1 for Carlsbad Caverns, and 1 for White Sands, plus some travel time to get between the parks.
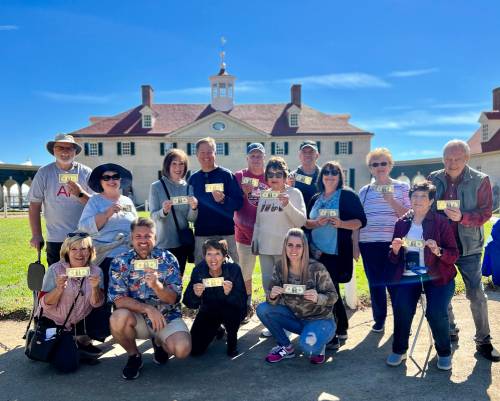
I’m Cheryl, and I love exploring national parks in the West with my husband, Matt, our kids, and our extended family. Since 2020, we’ve helped thousands of travelers plan their trips, and a trip to the Southwest is something I feel that everyone should do at least once in their life.
In this article, I’ll explain:
Before I dive into the itinerary, there are some really important high-level concepts to know about this region.
This understated region might be almost completely ignored if it weren’t for these four national parks. But thankfully, the national parks got me to visit, and in the process, gain an appreciation for the landscape and culture.
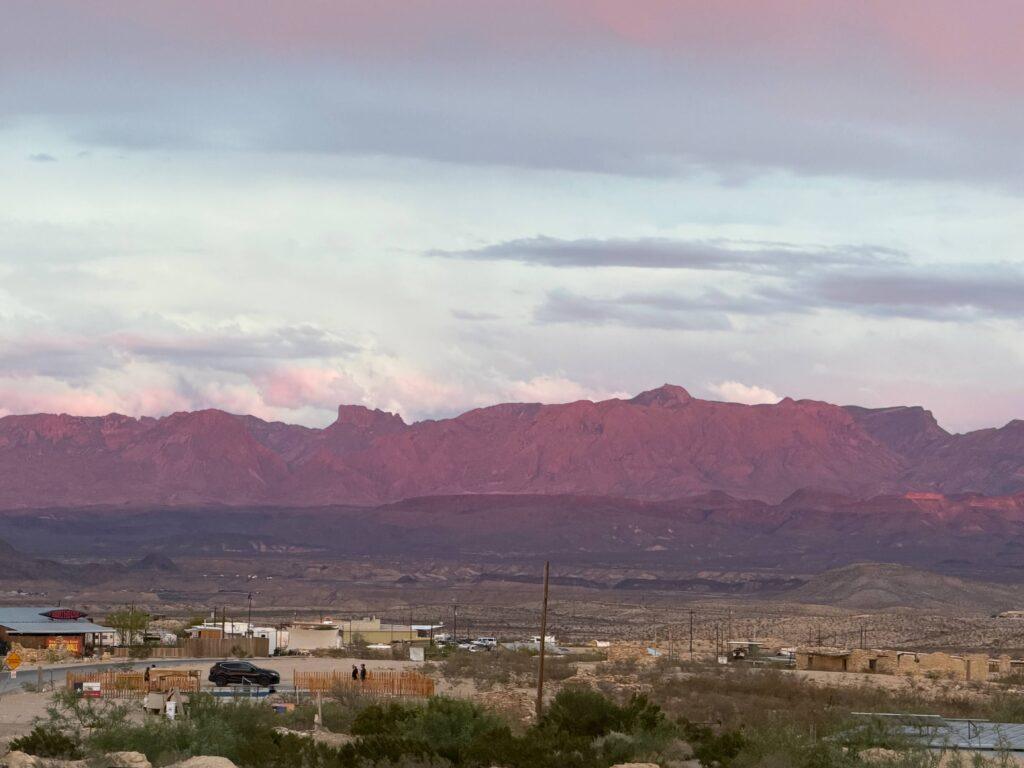
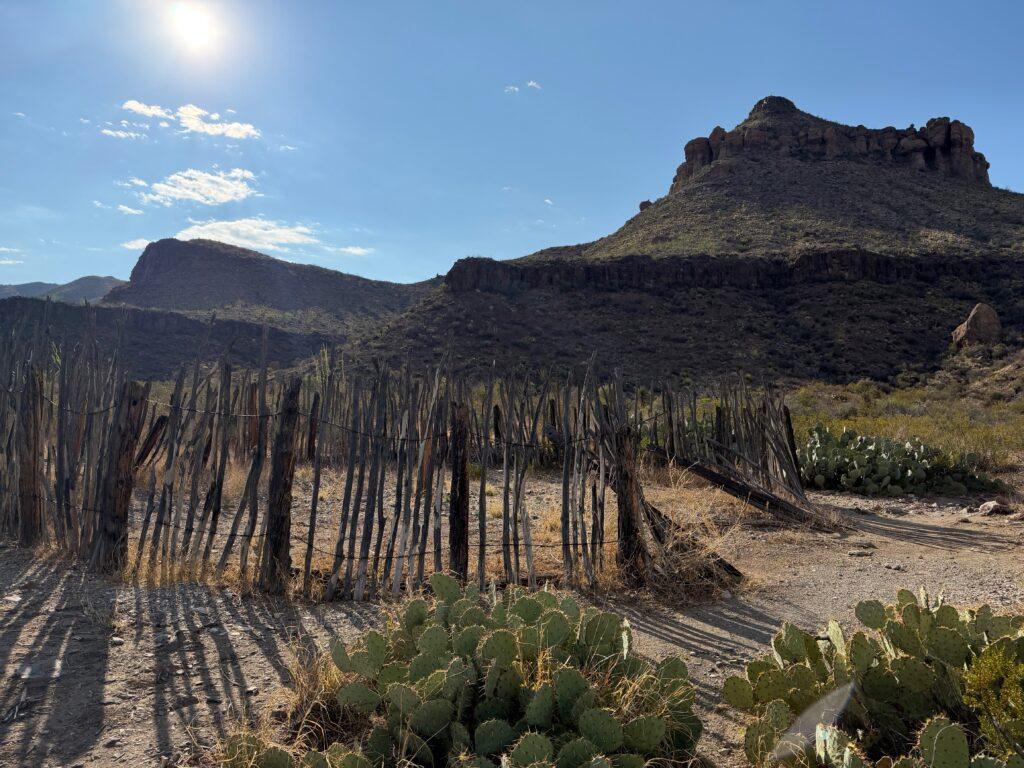
This region is the heart of the Chihuahuan Desert, one of four major deserts in the United States (the largest and the most biologically diverse of the four). Unlike the stereotypical cactus-filled Sonoran Desert in Arizona, this one is higher, cooler, and more rugged. You’ll see wide stretches of nothingness, occasionally broken up by surprisingly jagged and impressive mountain peaks. The nothingness is part of the allure – it feels like an untouched frontier in some ways.
Culturally, this is a mix of Mexican, Spanish, and ranching, and modern/new-age desert influences. Expect a lot of Mexican food and Texas BBQ.
Chihuahuan Desert. Largest desert in the US, connecting the Big Bend region to Southern New Mexico.
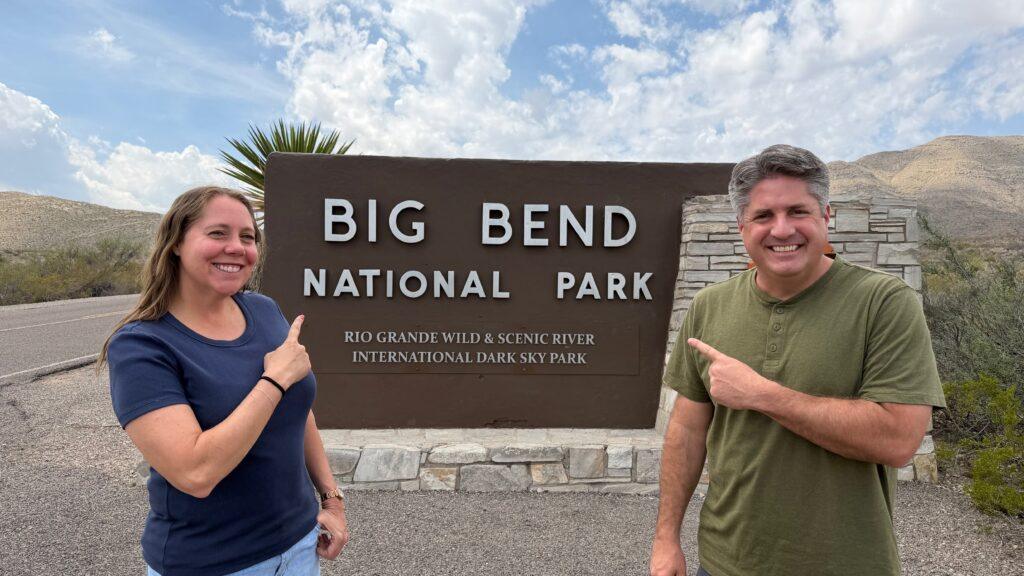
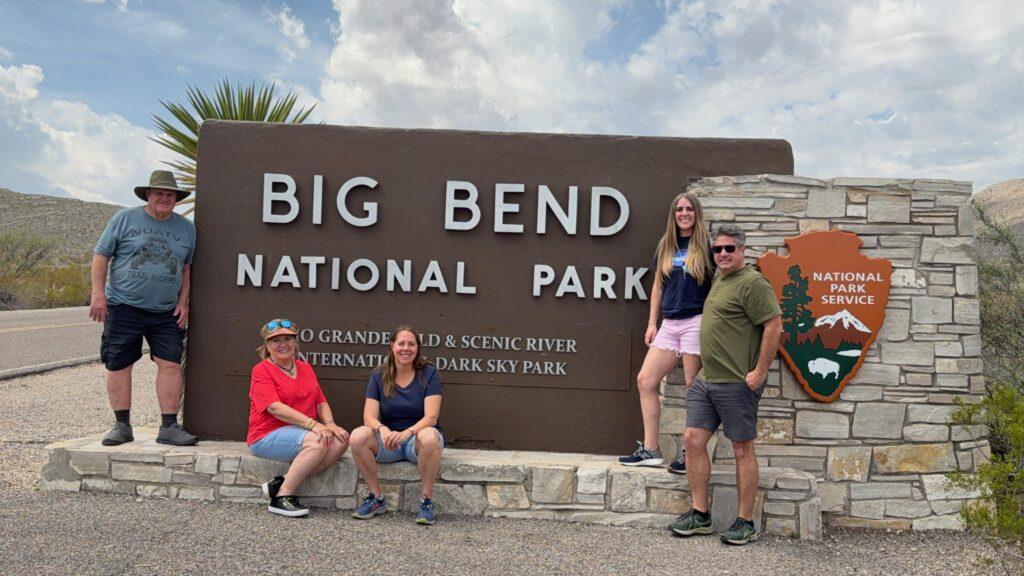
Big Bend. Big Bend refers to the sharp bend in the Rio Grande River on the US-Mexico border (the bend in the river is located inside the national park). Big Bend is used both to refer to the national park and to the Big Bend region.
Rio Grande. This river forms the border of the US and Mexico. It flows through Big Bend National Park.
Trans-Pecos & Far West Texas. These terms are applied to the western tip of Texas, a region west of the Pecos River.
Southern New Mexico. Southern New Mexico doesn’t really have a term other than this descriptive term.
The Tularosa Basin. The area around White Sands National Park.
Sky Islands. High altitude mountain ranges (like the Chisos Range in Big Bend) that rise high above the desert floor – their elevation brings more green growth.
Here are some main concepts to understand about this road trip and region:
I believe that 7 days is the perfect amount of time, especially because of all the driving required. Even though it’s possible to see parks like White Sands, Guadalupe Mountains, and Carlsbad Caverns in half a day each, it would just be too much time behind the wheel. Plus, it’s nice to explore these parks at a more relaxed pace and make sure you give them each the time they deserve.
One thing to keep in mind is that if you don’t plan on spending much time hiking, you could do this trip in a day or two less time.
Another thing to consider is what YOU are interested in. I’ll give you our exact itinerary, but feel free to skip things that don’t interest you. My mother-in-law LOVES quirky photo ops, so these were included in the itinerary. Paddling down the Rio Grande and looking at stars was my thing. Use our plan and then tweak it to make it your own.
We spent 7 days, including flying days, to do this road trip. I thought that was the perfect amount of time to see the national parks and fit in plenty of additional towns and sites along the way. But there are options to lengthen or shorten this trip.
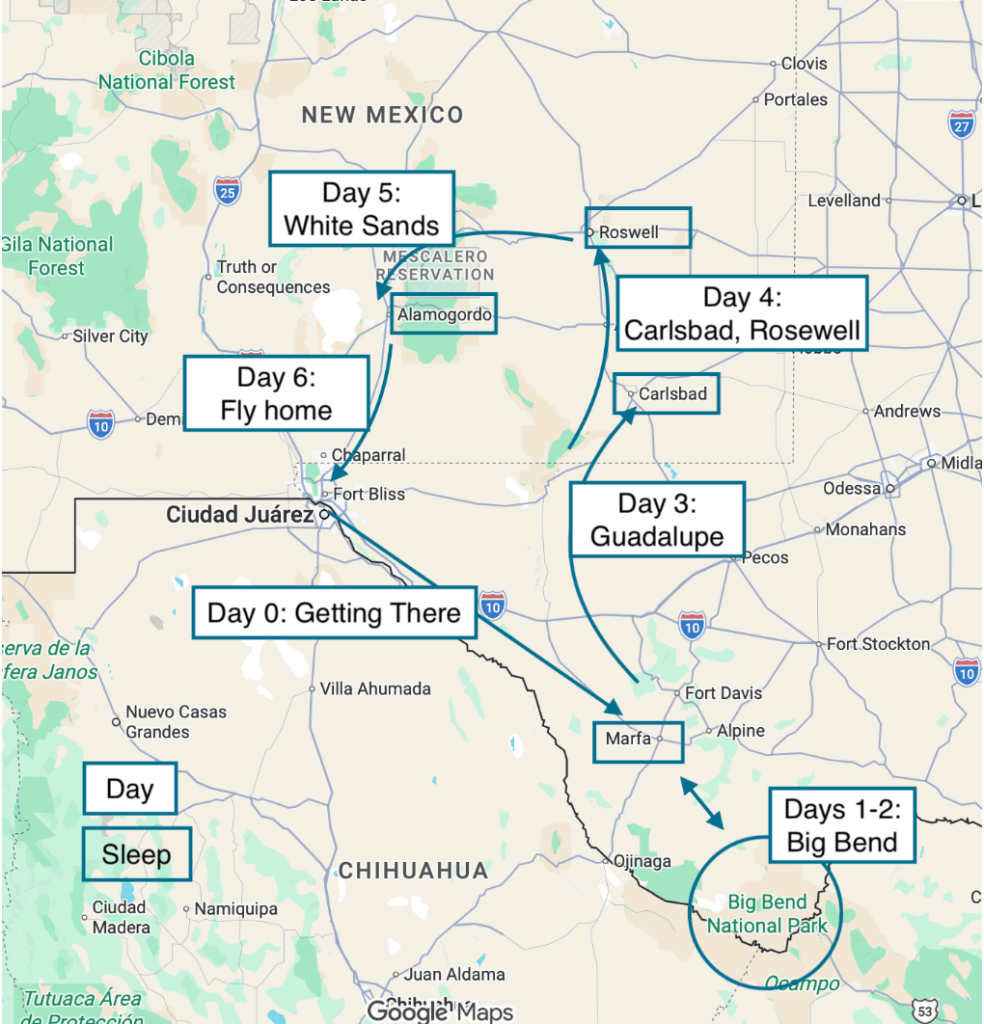
Here’s the basic overview.
Day 1. Fly into El Paso or Midland, drive to Terlingua or Marfa.
Day 2. Big Bend. Chisos Basin and Santa Elena Canyon. Stay in Terlingua.
Day 3. Big Bend. Options: Boquillas (hike or donkey ride), canoeing, offroading, Lajitas, and Big Bend Ranches State Park. Stay in Terlingua.
Day 4. Drive 4 hours to the Guadalupe Mountains, do a 2-5 mile hike/walk if possible. Drive 1 hour to Carlsbad Caverns for the bat program. Stay in White’s City or Carlsbad.
• Alternate: Do more hiking in Guadalupe and save the bat program for tomorrow night.
Day 5. Carlsbad Caverns (Big Room). Consider King’s Palace afternoon tour. Drive to Roswell for Alien sightings. Stay in Roswell.
Day 6. Drive to White Sands National Park. On the way, consider visiting Billy the Kid Museum, Smokey Bear Museum, Cloudcroft, and Pistachioland. Visit White Sands in the evening.
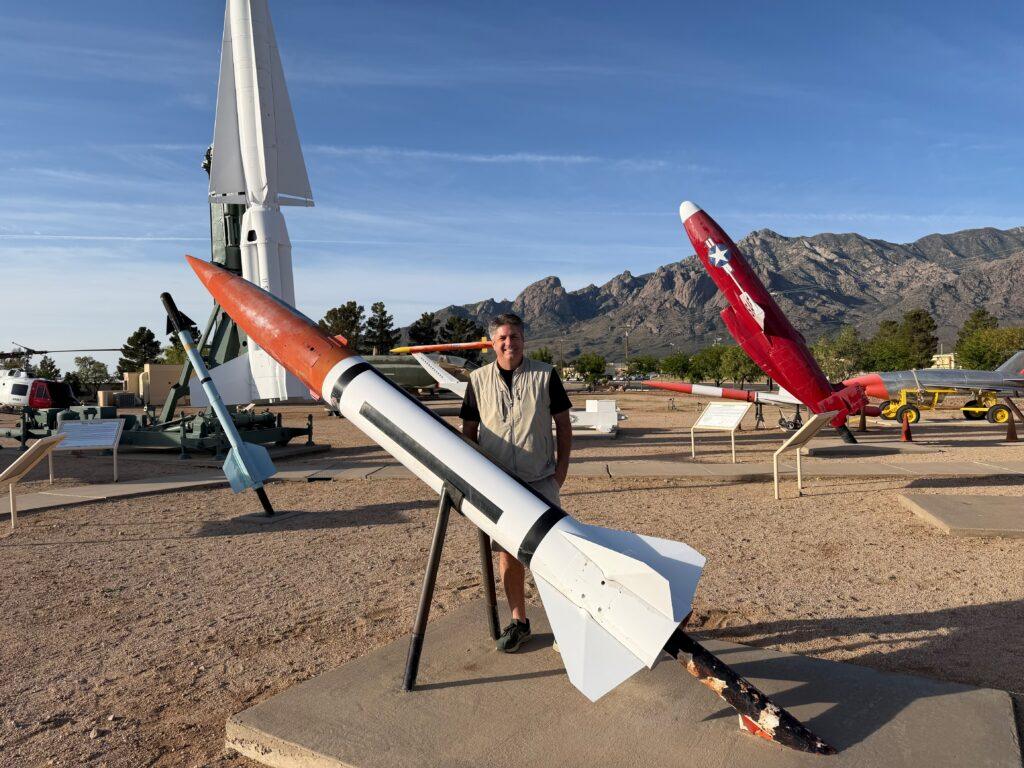
Day 7. Back to El Paso to fly out. On the way, consider visiting White Sands Missile Range, the Organ Mountains (allow time for hiking), Pat Garrett’s grave, the World’s Biggest Chili Pepper, and Chamizal National Memorial.
Adjustments:
No matter where you are coming from, getting to this area is a trek.
Most people fly into El Paso, TX. It’s a 4-hour drive to Big Bend from there, which makes for a long travel day.
The Midland, TX, airport is another option, but it’s smaller and is still 3 hours away from Big Bend.
Because you’ll most likely have a long drive after your flight, try to get a direct flight that leaves earlier in the day. That way, you’ll have the time (and hopefully the energy) to get to wherever you are staying to visit the park the next day
Because our flight arrived very late, we drove 3 hours to Marfa, TX, where we stayed our first night, because the 3-hour drive sounded more doable than the 5-hour drive to Terlingua. We had a 2-hour drive the next morning to get to the park.
GOOD TO KNOW: El Paso is on Mountain time, while Marfa, Terlingua, and Big Bend are on Central time. You’ll lose an hour on the drive from the airport to Big Bend.
Lodging. We stayed at the Riata Inn in Marfa. It got the job done, but I wouldn’t recommend it.
I don’t recommend starting at the visitor center in every park, but I recommend it in this one because it really set me up to appreciate what I was going to be seeing in the park.
The first thing I really liked was the giant relief map. The ranger working there was awesome and he did a little presentation where he explained that Big Bend had three very different regions: the Chisos Mountains, the Chihuahuan Desert, and the Rio Grande River. He taught us a little about each of them and recommended we spend a day exploring each.
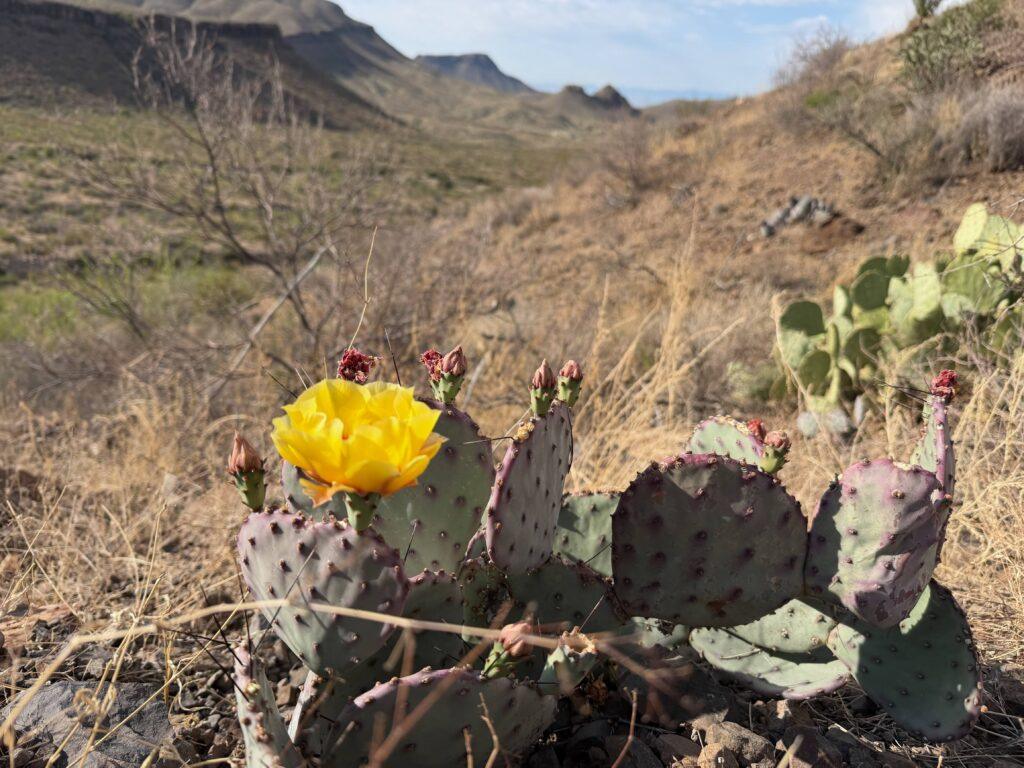
The park film was also great. We especially liked learning about the species of cacti that live in the park. There are over 40 different kinds! It talked about their life cycle and it was fun to look for those plants later on as we were driving around.
Lastly, there is the Panther Path, which is paved, flat, and easy, and it takes you through some of the plants common in the park. They are labeled, and it was super cool to see the flowering cacti.
Facilities:
We left this visitor center with a clear plan and a much deeper appreciation for the park.

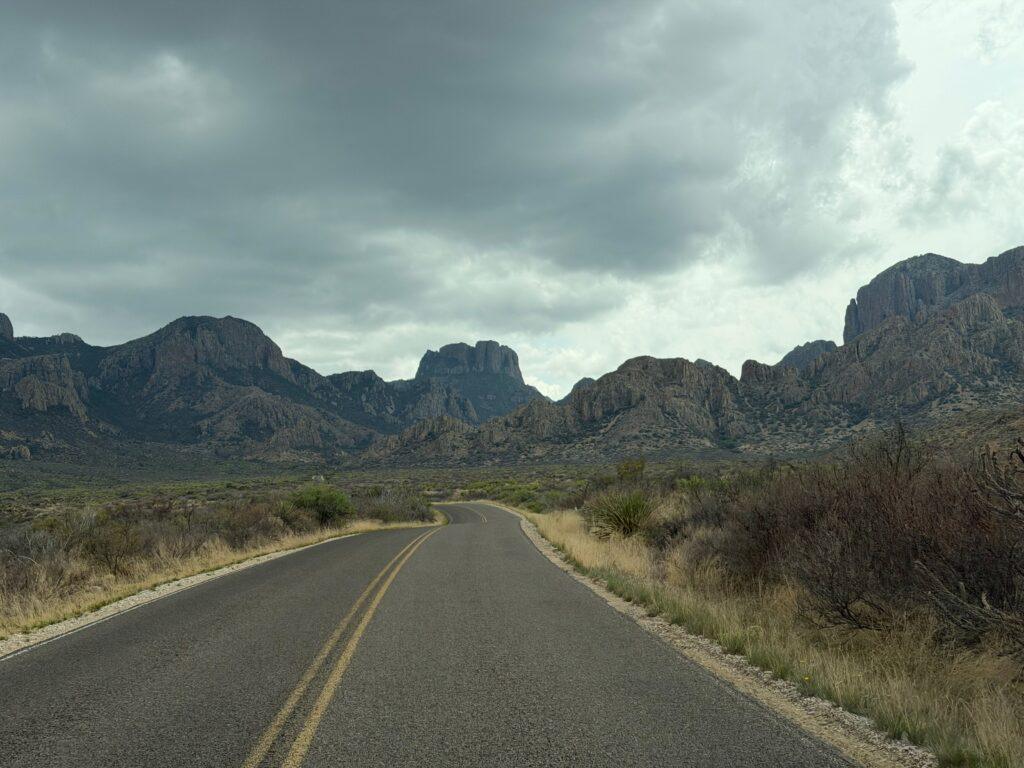
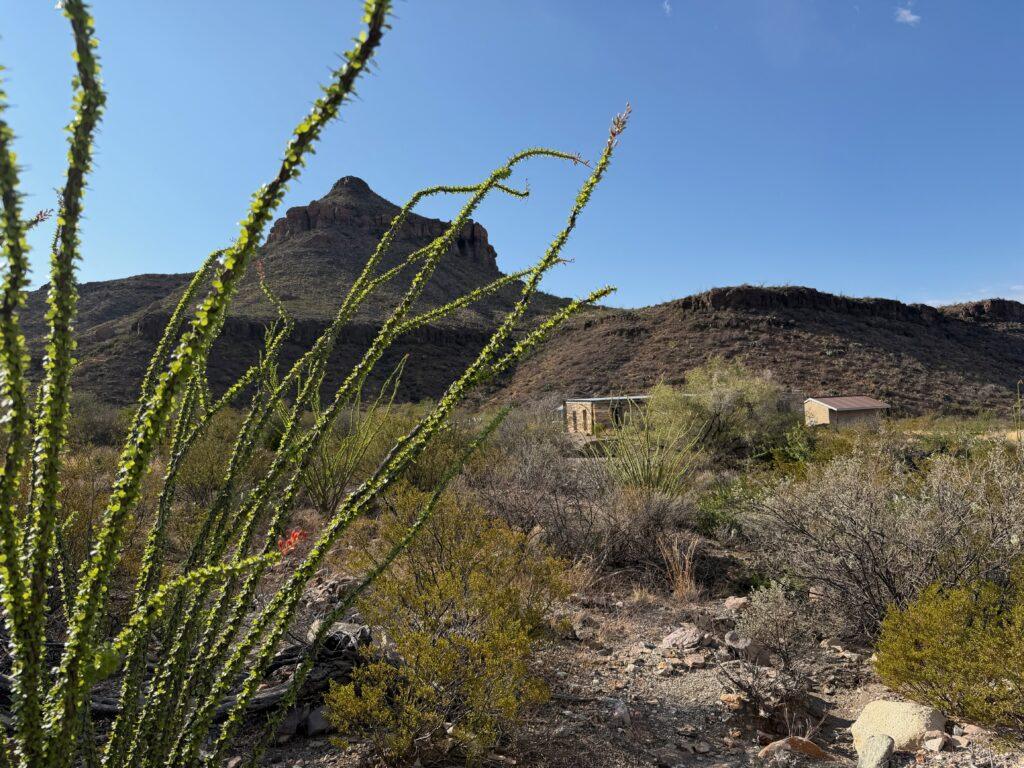
Next, we headed up into the Chisos Basin. It’s about a 15–20 minute winding mountain drive that has trailer restrictions: nothing over 20 feet. You leave the desert and suddenly you’re in rugged mountains.
At the top, there’s a small visitor center with displays, flushing toilets, and a water spigot to refill your bottle. There is also a store near the campground with snacks, drinks, ice, and picnic tables.
There is also a lodge and restaurant here, but they were scheduled to be closed for a while so they could be refurbished. You can check current conditions here.
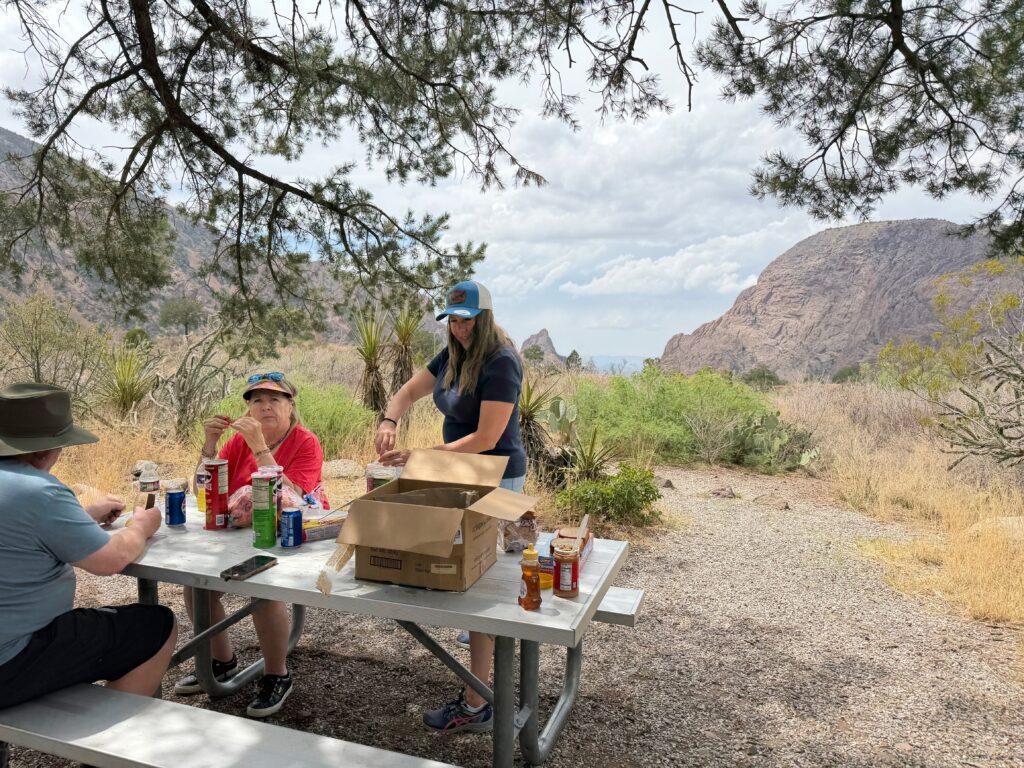
We had a picnic under a tree surrounded by cacti and mountain views. It felt like its own little world and was really nice.
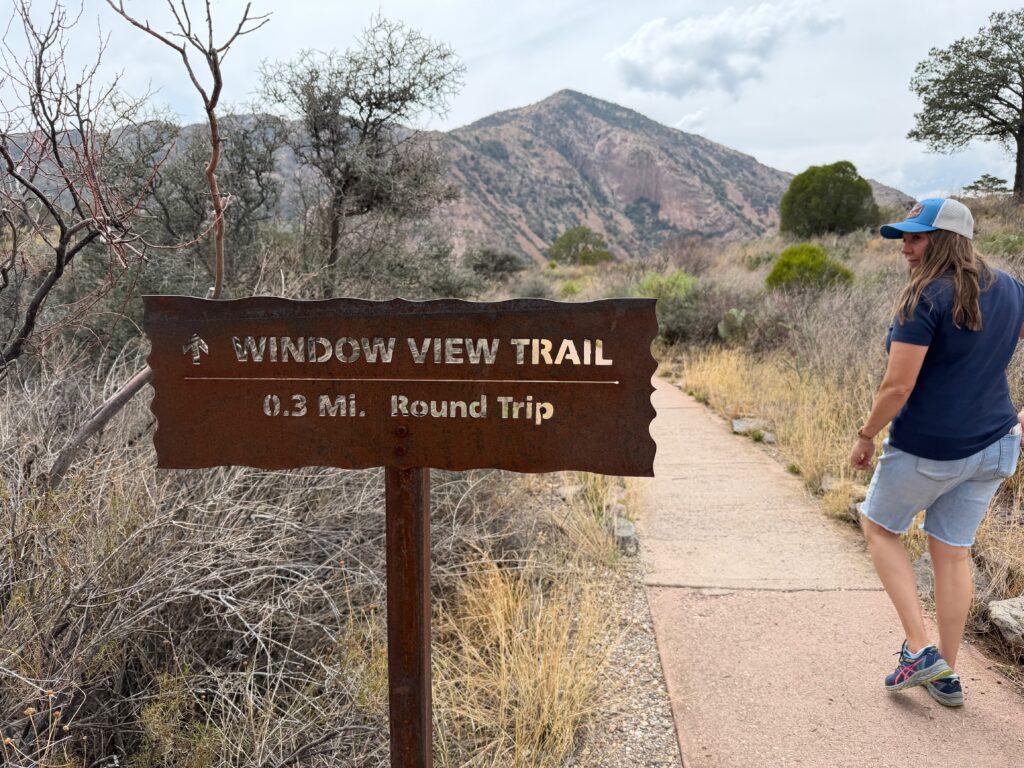
The Window View Trail, along with a few other trails, is in this area. It’s a nice, easy walk with a nice view. It’s a 0.3‑mile paved loop, flat, accessible, and family-friendly. It has great views of the Chisos peaks and the “Window” opening.
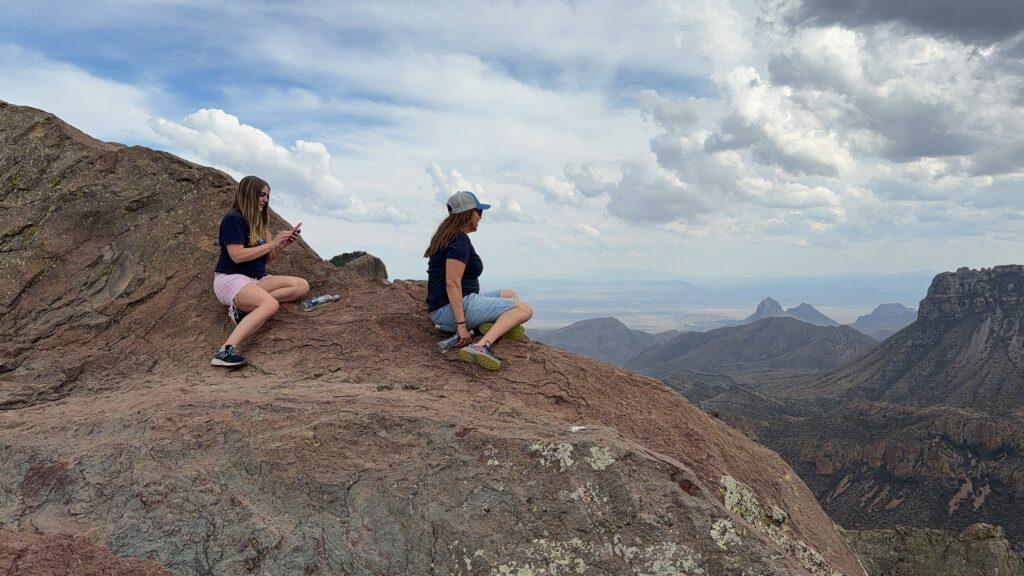
If you’re up for a moderate hike, the Lost Mine Trail is the most popular in the park.
You start in cactus country, then climb into the mountains for bigger views. I especially enjoyed the reddish rock formations (very unique!) and the long views I had across multiple valleys with distant mountain ranges. There was green lichen on the rocks and I could see birds circling the canyons.
Even though this is a popular trail, we still had the overlook to ourselves. It felt quiet and peaceful.
HOT TIP: There were signs all over the park saying to be done hiking by noon. Temperatures were moderate when we visited, but I would absolutely follow this advice if you are traveling in warmer months. It gets HOT here and you need to be careful.
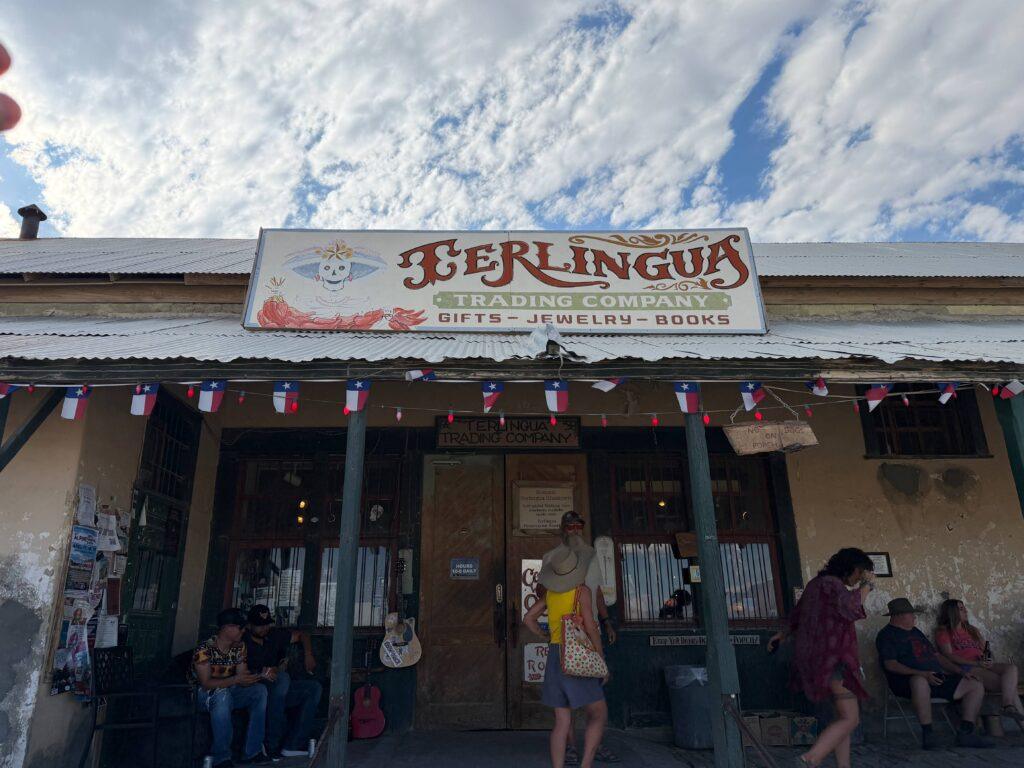
In the evening, head outside the park to the ghost town of Terlingua. This is a tiny town with a population of only 100 people. Although it has businesses that cater to tourists, it feels like a very authentic Southwest experience and we enjoyed our time in this town as much as our time in the park.
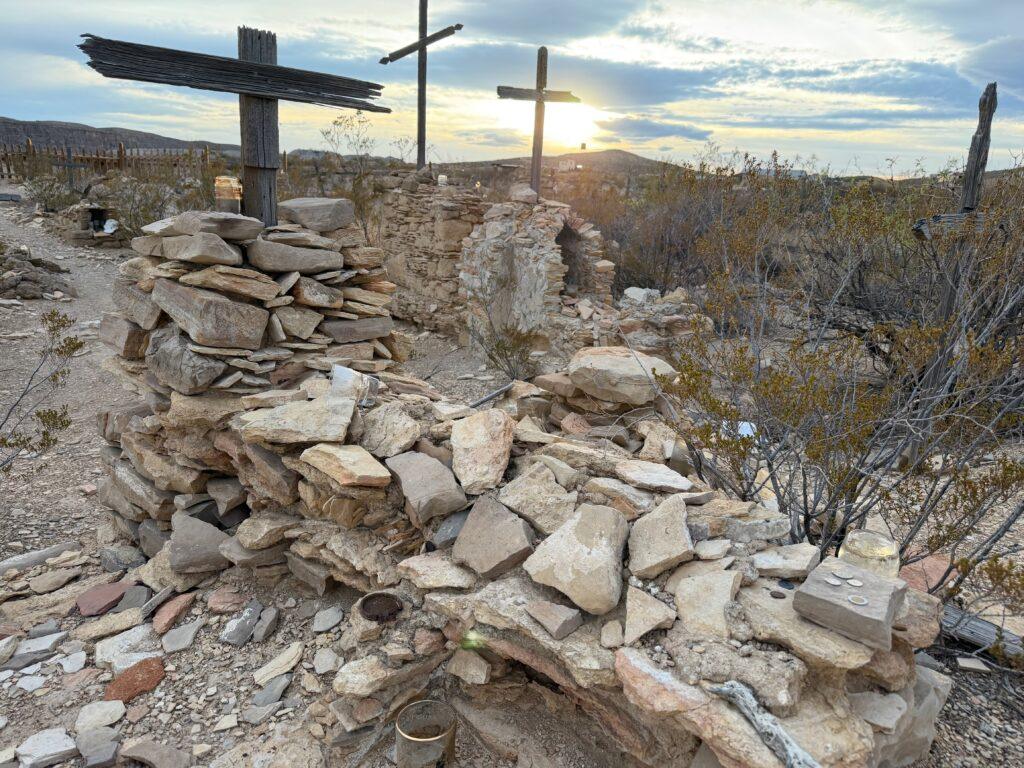
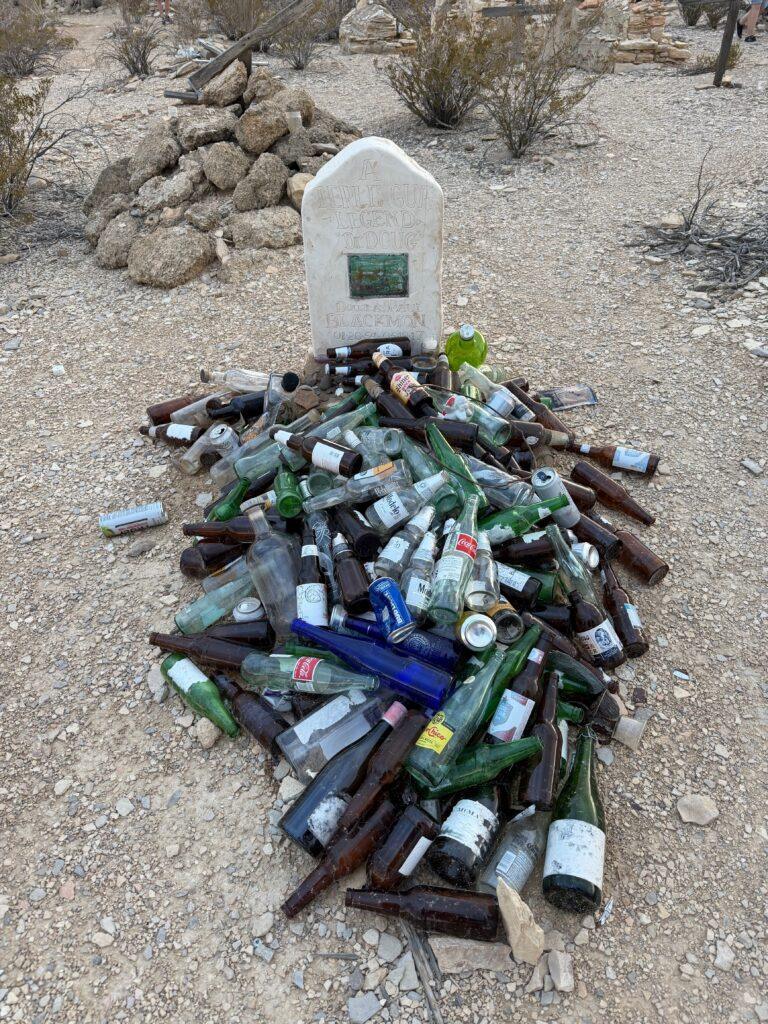
Terlingua Cemetery
This ended up being one of my favorite Western cemeteries. Terlingua used to be a mining town, so many of the graves are of people who died in mining accidents or from a sickness that went through the town. There are around 100 graves and they look like very little has been done with them over the years.
I saw simple wooden crosses, mounds of stones, and empty beer bottles, as if someone had visited and shared a drink with an old friend. There were also coins across the tombstones and the cemetery is surrounded by red rock and cacti.
It felt raw and real and was a great spot to take pictures.
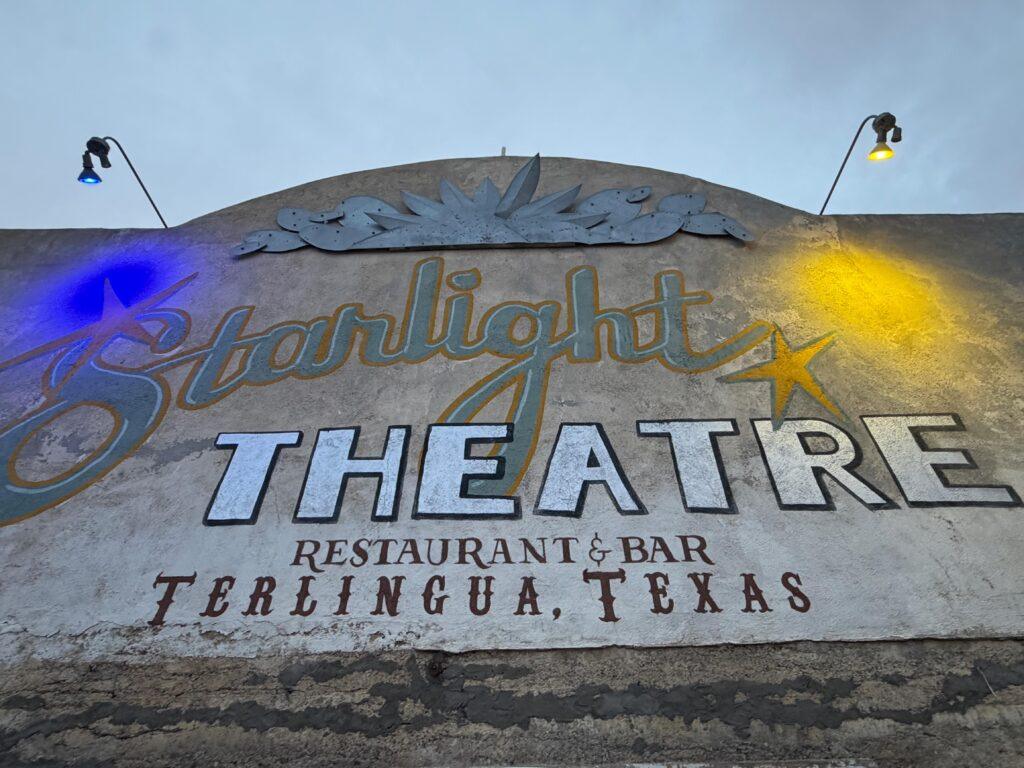
Starlight Theatre
The Starlight Theatre actually isn’t a theater at all. It’s a bar and a great spot for dinner. There is usually a long wait, but we don’t mind because it is more than just a place to eat.
This is where the locals hang out. There’s a large wooden porch out front where everyone is drinking and socializing. It has a great view of the sunset hitting the Chisos Mountains. One night, people were playing their guitars and singing. It was WONDERFUL!
There are also some local shops you can check out while you are waiting.
The atmosphere inside is great with all sorts of authentic artifacts from the town’s history, including a stuffed goat, Clay Henry, the past governor of Terlingua’s neighboring town, Lajitas.
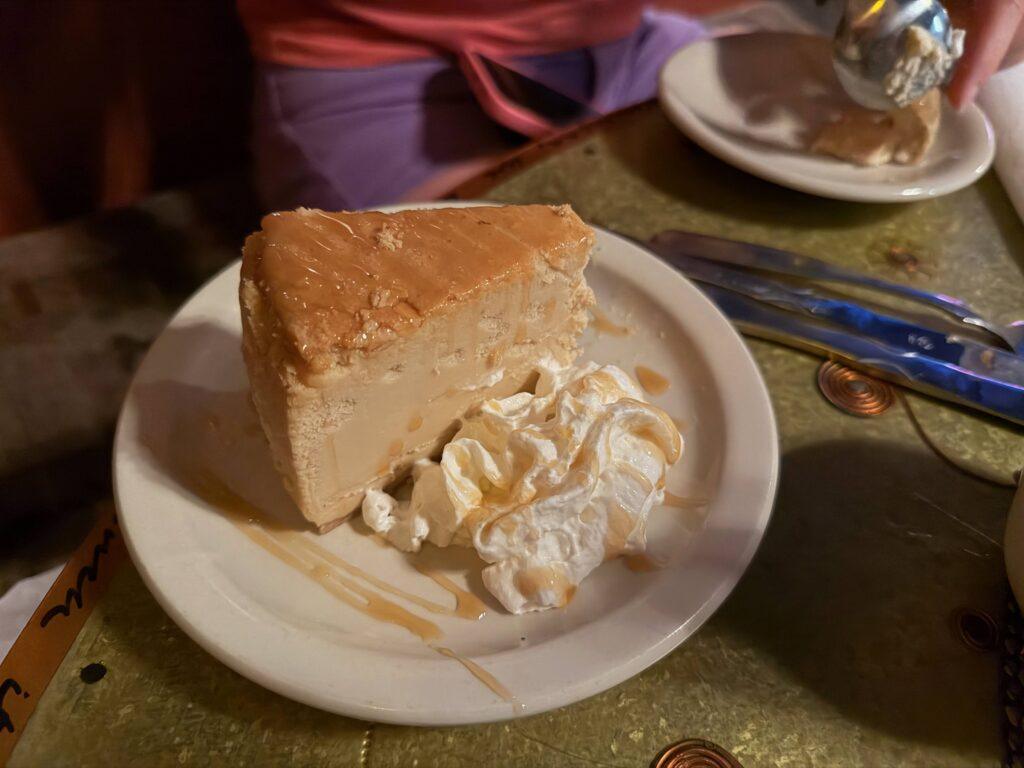
We actually ate here twice on our trip because we liked it so much. All the food was great, but I especially liked the BBQ, burgers, and jumbo shrimp tacos with mango. Their desserts were also amazing, especially the pecan cake.
It’s also common to have live music here by local musicians.
FUN FACT: The Starlight Theatre used to play movies to entertain the miners. When the mines dried up, everyone took off. The aluminum roof on the theatre was of value, so they took it with them. The theater continued to be used, without a roof. That is where the name comes from. In 1991, it was renovated and got a roof.

We entered the park around 8:00 am and headed down the Ross Maxwell Scenic Drive toward the Rio Grande and Santa Elena Canyon. Remember, this park gets hot, so the earlier you can start your day, the better.
It’s just a 30-minute drive on a paved road if you go straight there, but there are plenty of spots to stop along the way. We stopped at the:
Santa Elena is one of Big Bend’s top spots. It’s a short trail along the Rio Grande into a narrow canyon with towering walls on both sides. The U.S. on one side, Mexico on the other
We didn’t make it all the way there because of road flooding and were genuinely disappointed. This happening is very rare- they only get 6 inches of rain all year. We just had bad luck! If your timing and weather cooperate, I’d absolutely include this stop.
We did get to see the Rio Grande, though, and… I was surprised how small it is. It was only 10-15 feet across and around 3 feet deep in most spots. It’s super muddy too! In fact, they really discourage people from trying to swim in it.
GOOD TO KNOW: Even though the road was flooded, there was a benefit to the recent rains. The cacti were a vibrant green and the whole park smelled so good.
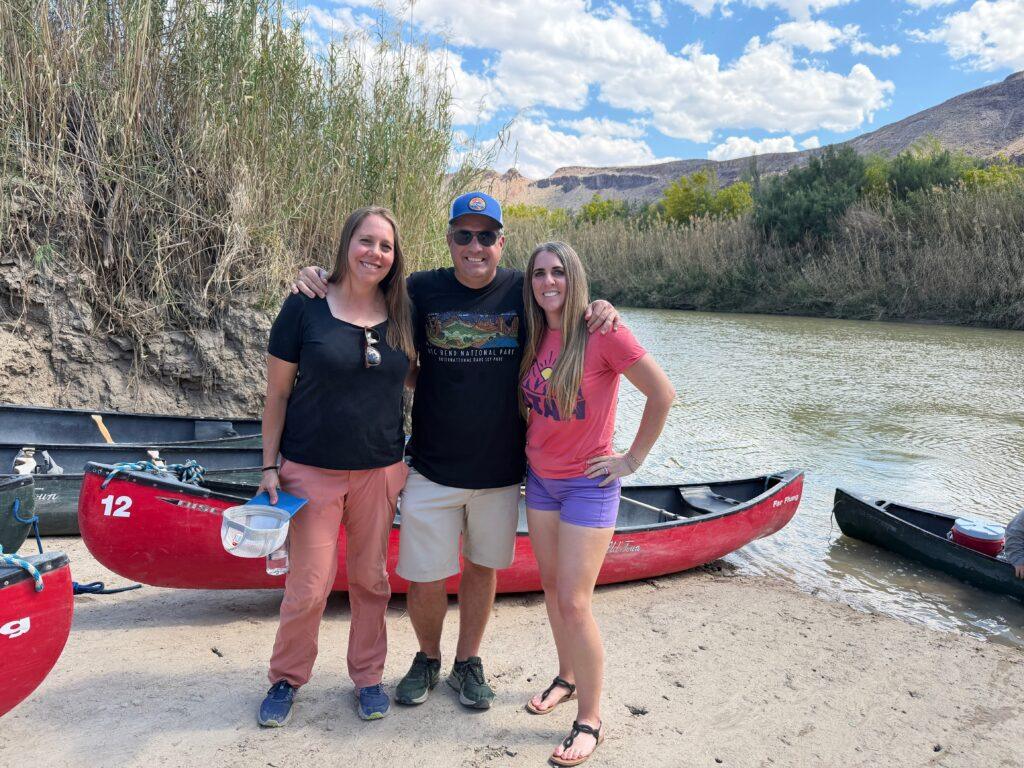
In the afternoon, we joined a guided canoe trip through Dark Canyon on the Rio Grande in Big Bend Ranch State Park (right next door to Big Bend National Park).
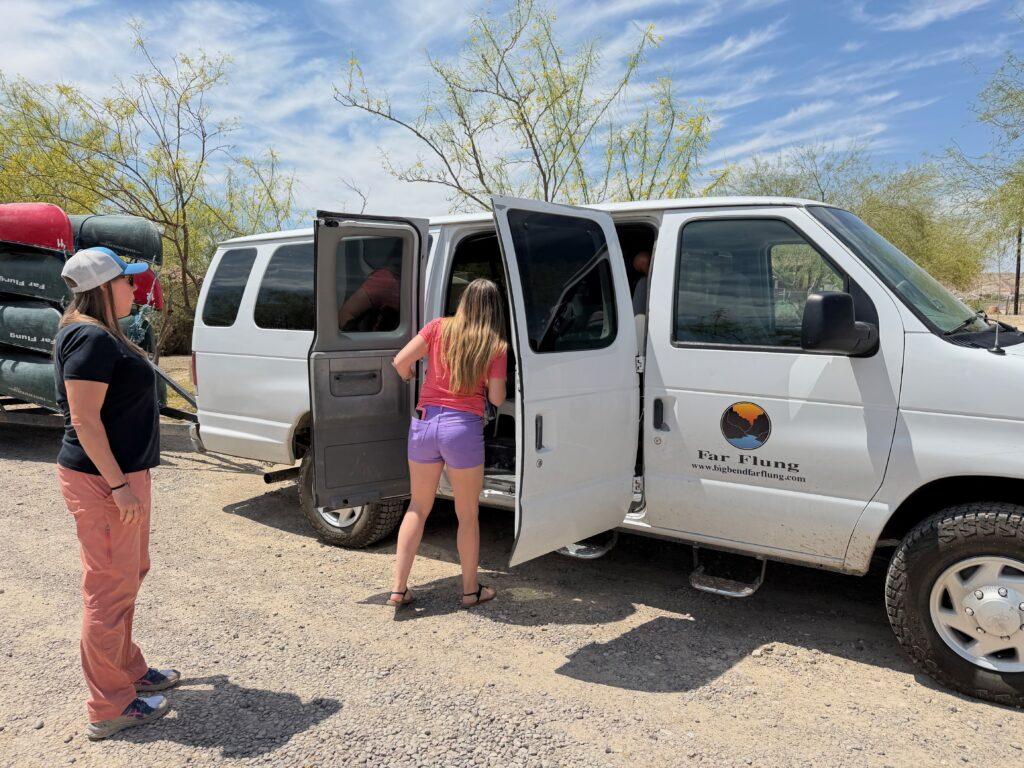
We went with Far Flung Outdoor Center, based in Terlingua, and they were terrific. We paid for this tour ourselves and get no compensation for recommending them. We are regular tourists sharing our experience.
Here are some things to know:
On the river, we saw:
The guides were patient and fun, taught us how to steer, and even hopped out to help in shallow “tricky” spots. At one point, we got out on the far bank, which meant we were technically standing in Mexico. We were super excited about that!
We loved this float. It was peaceful, warm, and gave us a different feel for the region.
We went back to the Starlight Theatre for dinner again (yes, it was that good), then headed to a public star party in Terlingua that our river guide had told us about.
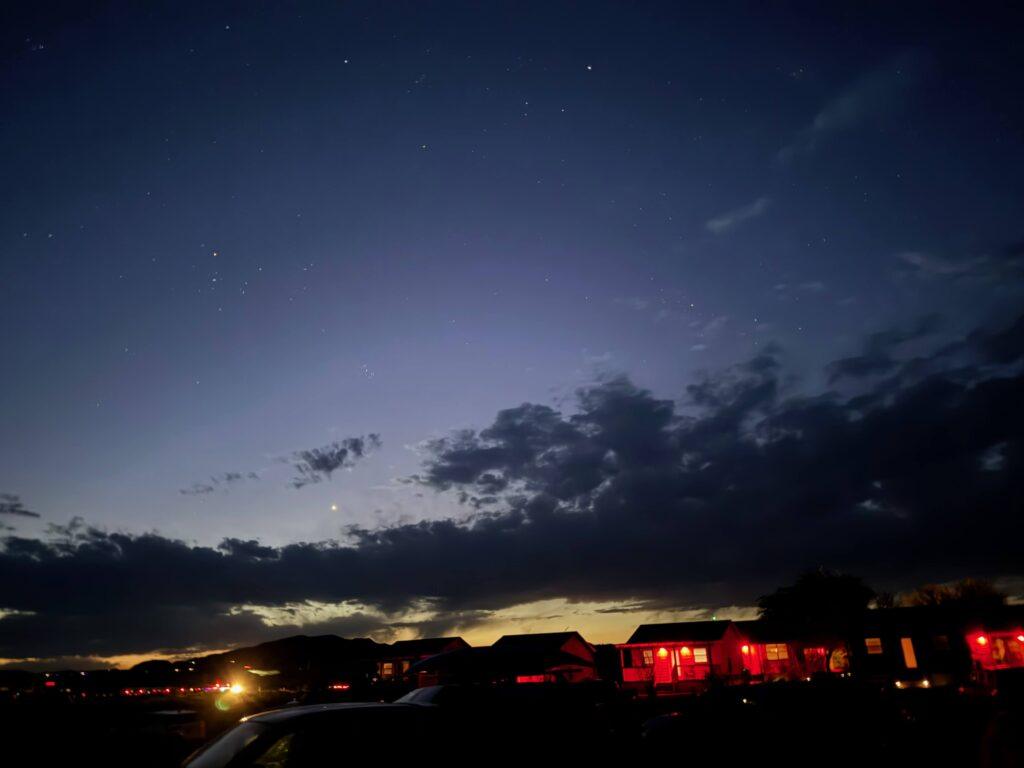
DID YOU KNOW? The area of Big Bend has one of the darkest night skies in the lower 48! Terlingua has light ordinances to keep the skies dark and is one of the best places around to stargaze.
The event was run by Astro Mucho and hosted at Far Flung Outdoor Center. Although their events sometimes cost $25 per person, the night we went was free. There were around 20 high-powered telescopes set up and the presenter was dynamite.
He used a laser pointer to show us the constellations. Something that really surprised us was that we could see satellites gliding across the sky.
When the presentation was over, we could look through the telescopes. I saw Jupiter and could even see a couple of its moons. It was fascinating and a real highlight for our group.
If you choose to go, bring:
If you have a third day and want to do something unique, this is where I’d spend it.
On the eastern side of the park, near Rio Grande Village, you can:
The real “bonus” experience is crossing into Boquillas del Carmen, a tiny Mexican village across the Rio Grande.
At the Boquillas Crossing Port of Entry:
Once in Boquillas del Carmen:
Most visitors spend 2–3 hours in Boquillas and then cross back.
CURRENT HOURS (as of early 2026):
The Boquillas Port of Entry is generally open Friday through Monday, 9:00 am – 4:00 pm.
This can change, so always confirm the latest schedule on the official Big Bend National Park website before you plan your day.
IMPORTANT TO KNOW:
We didn’t get to do this because we showed up on the wrong days of the week, and I wish we’d built our schedule around it.
However, the reviews online are a mixed bag. I think riding the burro is a great photo op, and it sounds cool to be able to say you rode a burro to Mexico. But some have said that the path is dusty and filled with manure and that Boquillas is a tourist trap. Use your own judgment on this one.
IMPORTANT: The border closes at a certain time every day. If you don’t cross it before that time, you will be sleeping in Mexico that night. Check the hours and make sure you are back on time.
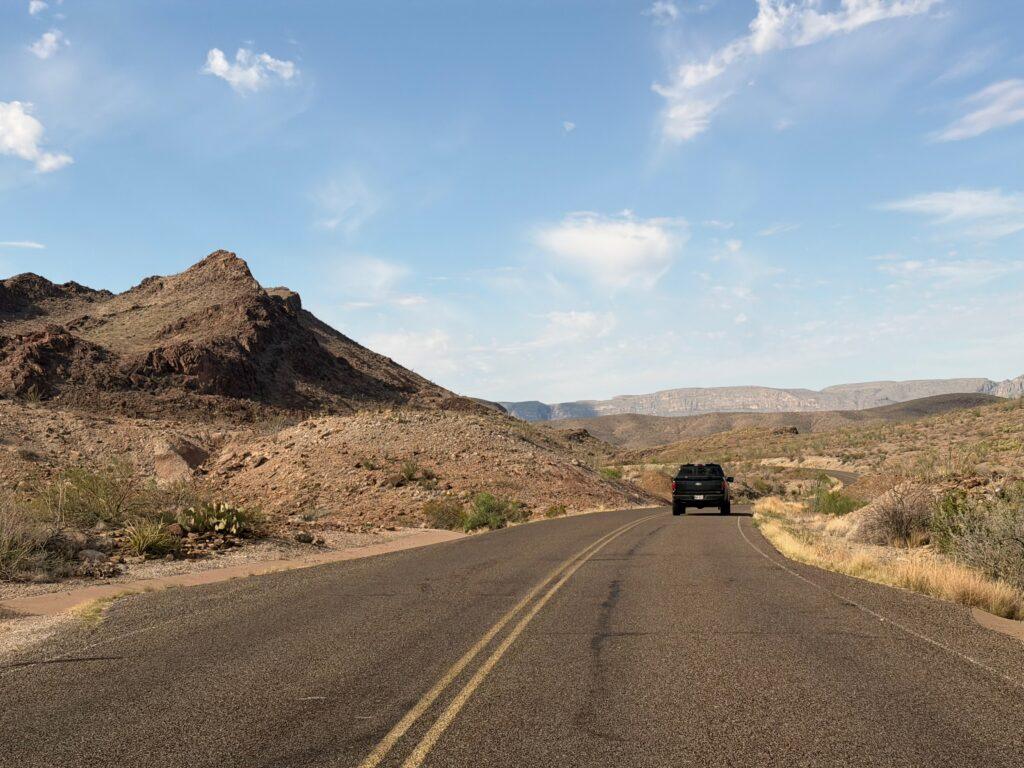
Driving: The main roads are paved and fine to drive in a regular vehicle, except the Chisos Basin road, which has trailer limits
Cell Service and Time Zones: Most of the time, you will not have cell service. You are right on a time zone border, so be prepared for the time on your phone to switch between the two throughout the day. Wear an analog watch, so you always know the correct time.
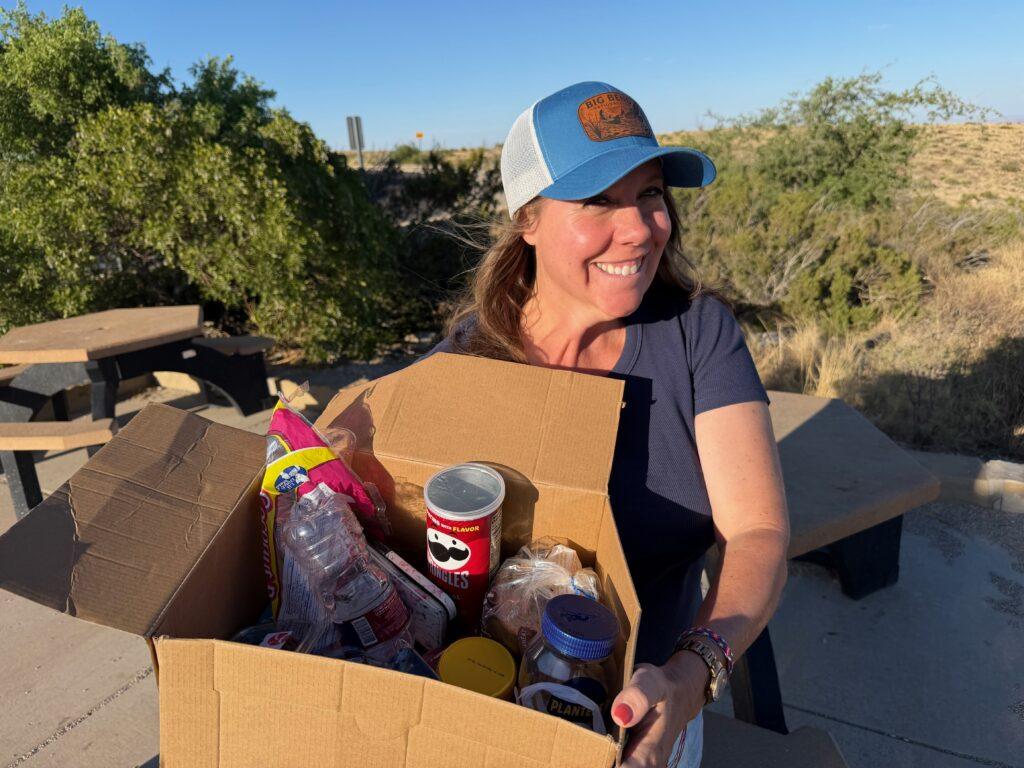
Food and Gas: Big Bend has a couple of small markets and grocery stores, but we recommend filling up and stocking up on picnic supplies before entering the park. There are plenty of restaurants in the gateway towns.
Heat and Sun: Wear a wide-brimmed hat and plenty of sunscreen. There is very little shade.
Dogs: Dogs are not allowed in most areas of the park, including buildings and hiking trails.
Where to Stay: Terlingua, Marfa, Alpine, and Marathon are all gateway towns that will work. There is also in-the-park lodging at Chisos Basin.
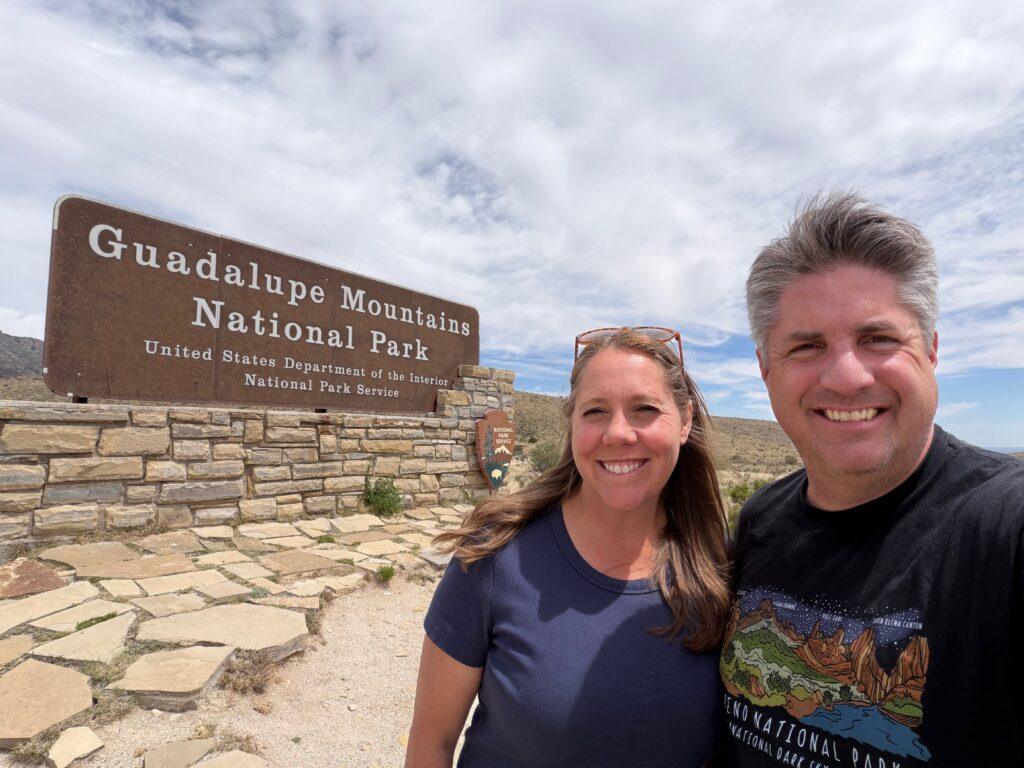
The Guadalupe Mountains is a super small park that was established in 1972. It was made into a park because there’s a fossilized reef here, with lots of marine fossils. Little has been done to make it accessible for visitors.
A highway runs along the edge of the park and takes about 15 minutes to drive from end to end. The pull-outs and stops are poorly marked, and the drive isn’t very scenic- mostly sagebrush.
We stopped at the visitor center, which has a few displays and a small shop with snacks and souvenirs.
We asked the ranger working there about possible things to do in the park, including hikes, and she said that the McKittrick Canyon Trail was the favorite of the park rangers.
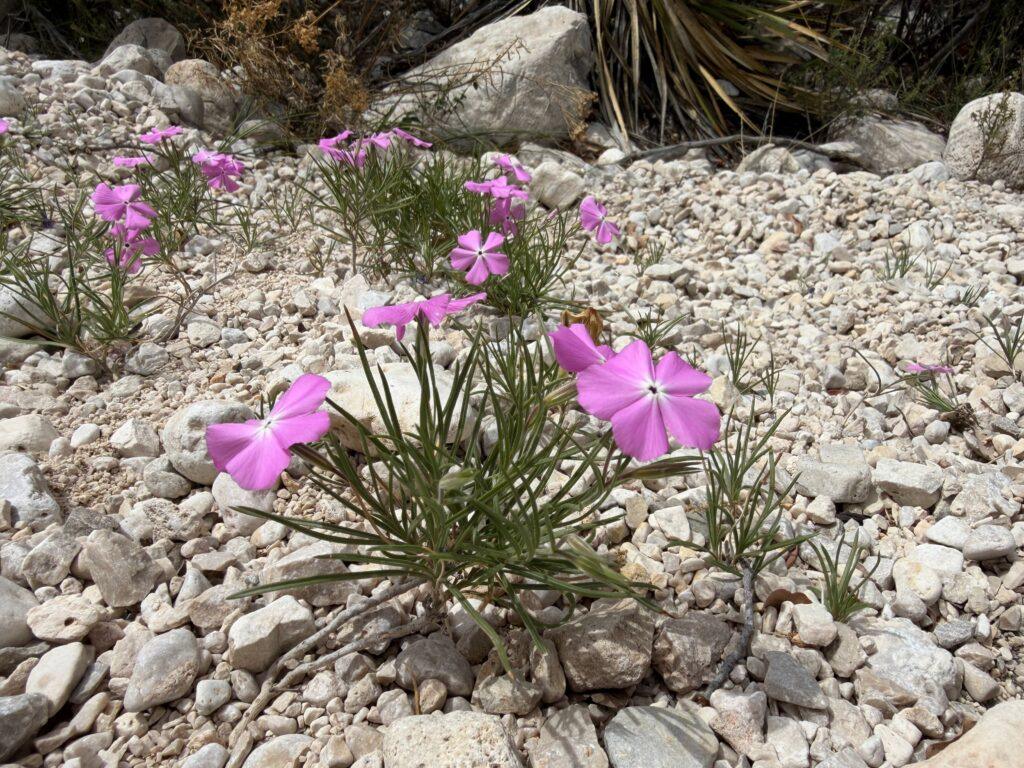
The McKittrick Trail is an easy, flat, 5-mile, round-trip hike. At the trailhead, there’s a water refill station and a 7-minute video that you can watch about Pratt, the guy who donated his ranch. There is also a bathroom with flushing toilets. The trail is fairly wide, flat, covered in gravel, and surprisingly has a lot of greenery on it, including cacti and other plants that kind of look like weeds. We were hoping to see some fossils, but never did.
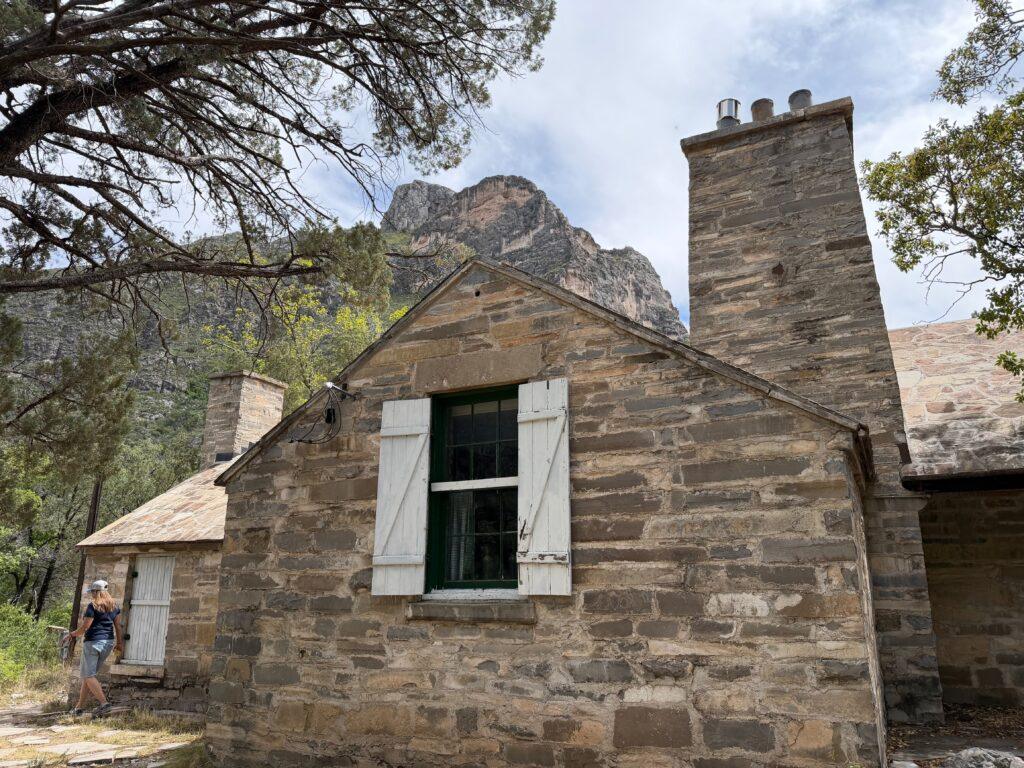
We loved how this trail switched scenery throughout. We started walking through a sagebrush desert, and then we got to a spot that looked kind of like a rainforest with canopy trees, and then we crossed a river (super easy to cross- didn’t get our feet wet) and got into the mountains. The river rocks were some of the whitest rocks I’ve ever seen.
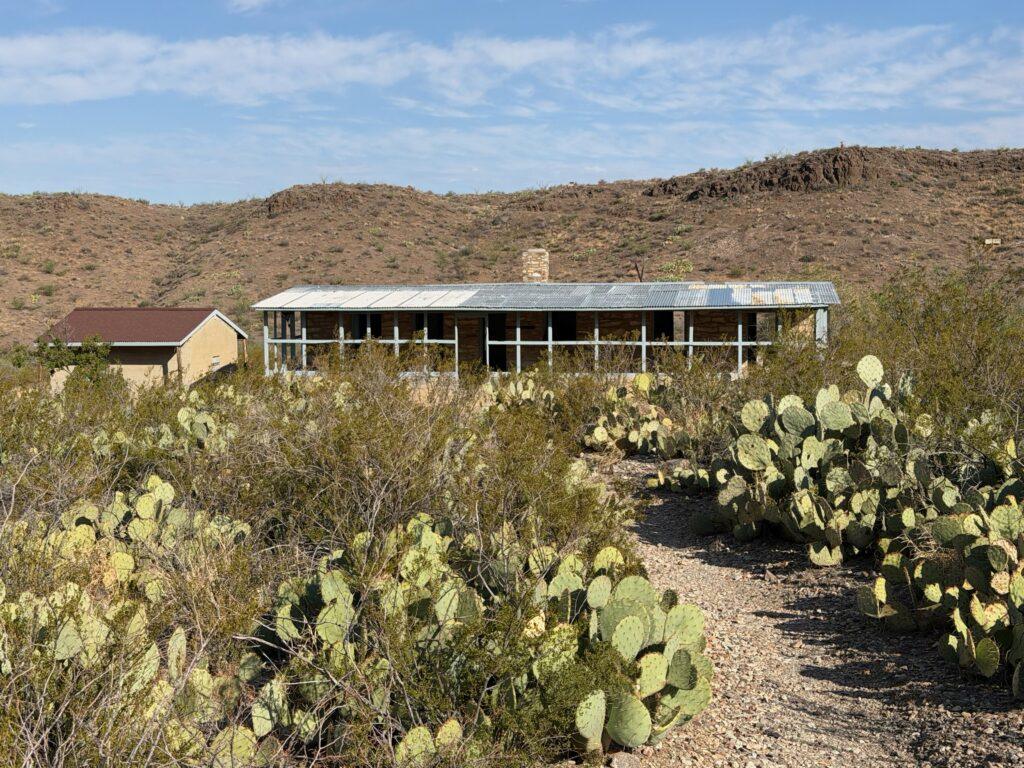
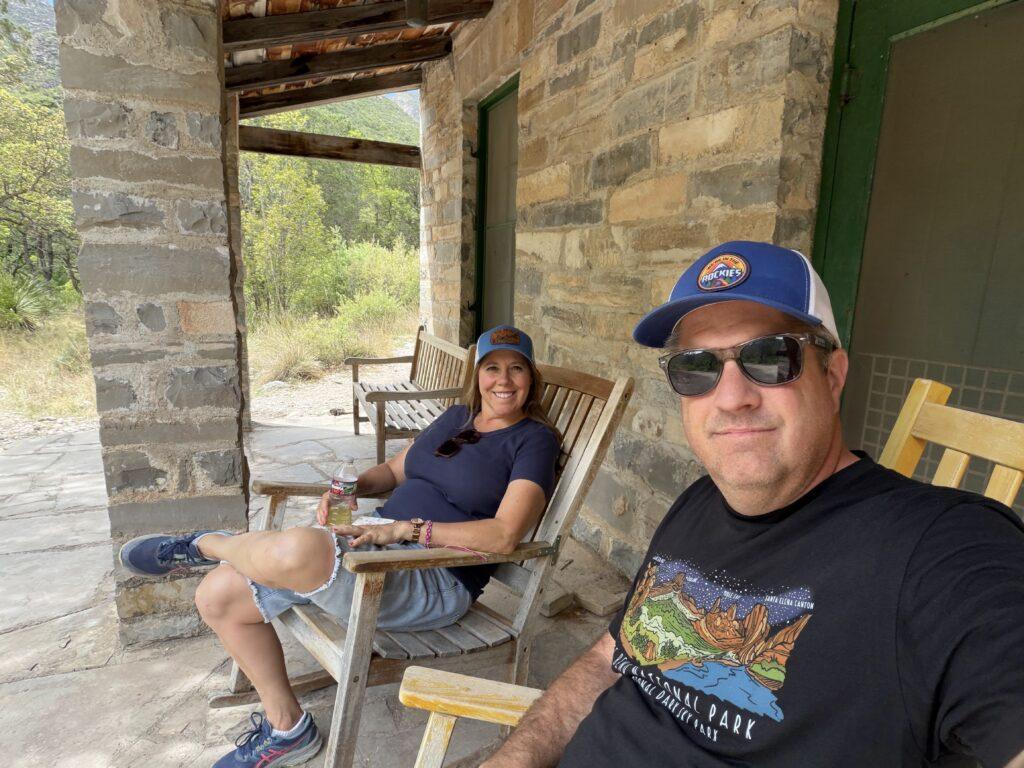
The Pratt Cabin at the end was especially cool. I really liked the rocking chairs on the patio that you can sit on and enjoy the view of the mountains. The lodge was locked, but it looked like maybe it’s open to visitors sometimes because it looked to be decorated inside. Overall, we found this hike surprisingly cool and ended up being our favorite hike of the trip.
It took us around two hours to hike it. The ranger says it normally takes 2 to 3.
This was just a very, very short paved accessible walk to an old ranch. There were picnic tables, some shade, and a bathroom, as well as a little schoolhouse. All the buildings were locked, but the main building looked like it was open sometimes because there were some displays in it. You can just kind of peek in the windows. It is nice that there is a shaded picnic area, because shade is a luxury around here. This is probably about a 15-minute stop. There were actually quite a few cars parked in the parking lot.
If you are up for a little hike, you can do the 0.5-mile, round-trip Manzanita Springs Trail. It was paved, accessible, exposed, and honestly, kind of boring. The spring was okay. It was probably 20 feet across and looked like a pond. Something I did like about this trail and this park is that we saw quite a few lizards that were kind of a bluish-purplish color, which we thought was interesting.
The park closes at 5 pm every night. Unlike many national parks that are open 24 hours a day, park rangers close the gate to this one every night at 5 pm. If you aren’t out in time, you are locked in for the night and you’ll be issued a ticket in the morning.
Cell Reception. Once in a while, I would get a few bars, but I wouldn’t count on getting good reception.
Ideal Visiting Season. This park can get pretty warm. Like Big Bend, March, April, and November are the preferred times to visit.
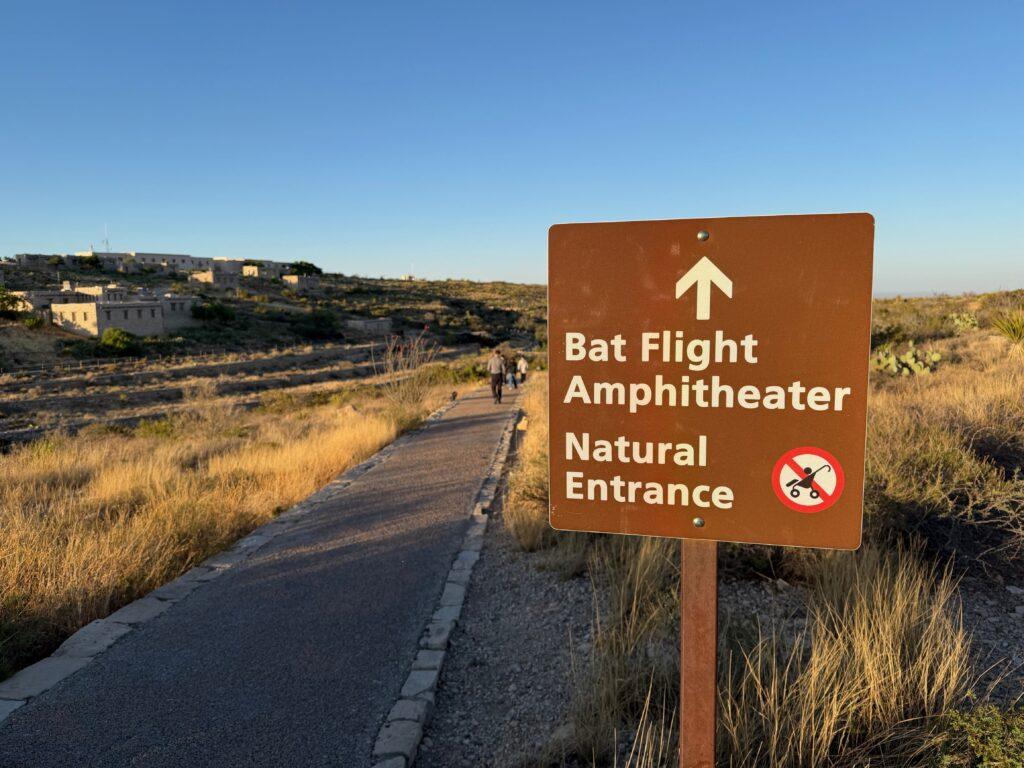
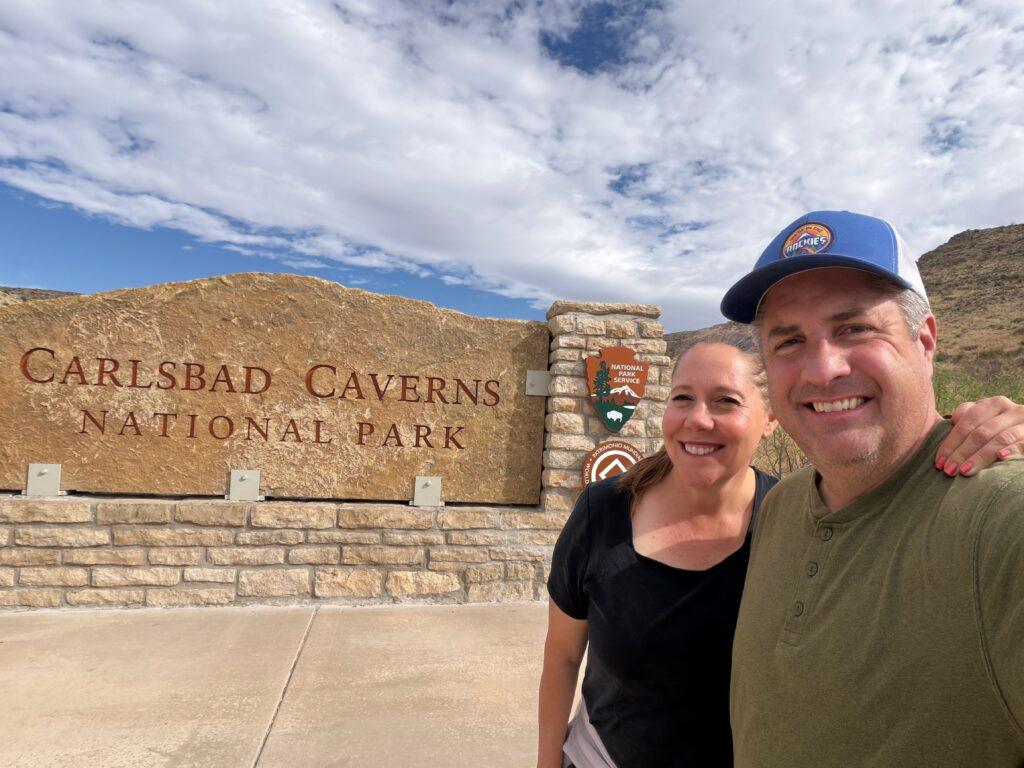
We drove an hour to Carlsbad Caverns National Park
Our evening at the bat flight program was one of my favorite national park experiences ever.
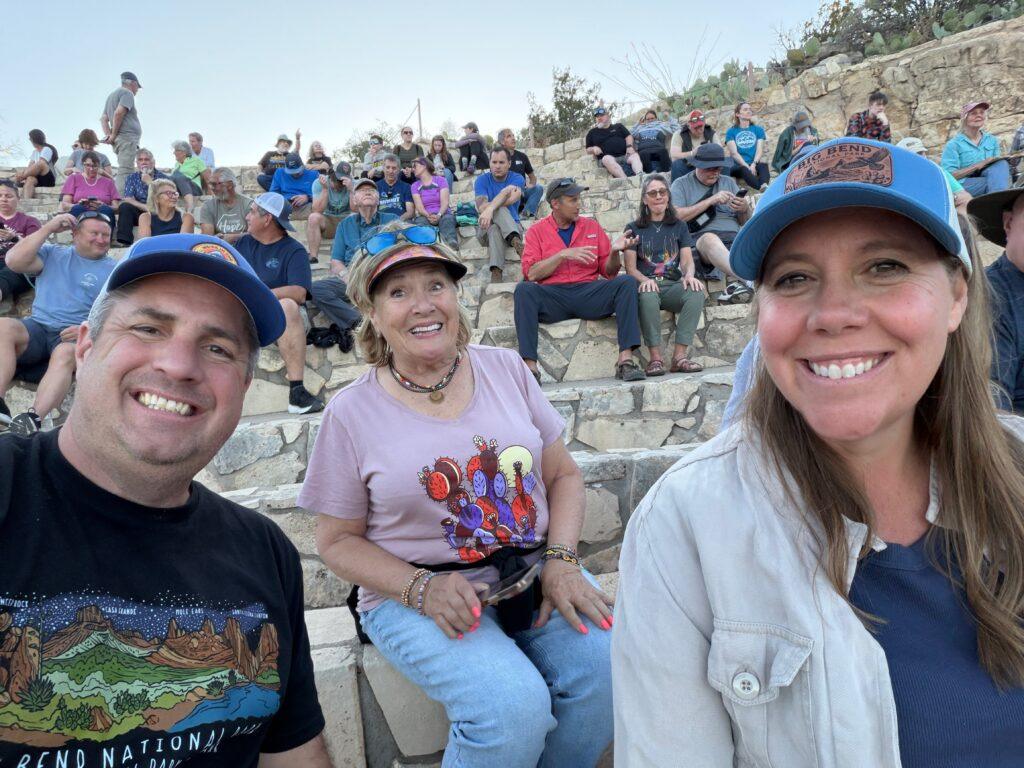
We arrived at the bat amphitheater around 6:30 pm:
A ranger gave a 40-minute talk about the bats. Ranger talks vary from 30 to 45 minutes, depending on when the bats begin exiting the cave. Some of my favorite things I learned:
Then the real show began.
As dusk approached, bats began flying out of the cave. Depending on the time of year, that can range from thousands to nearly a million bats in one night.
On the night we attended, I’m guessing about 20,000 bats flew out. In August and September, the peak for bat viewing, when the whole colony is there, and the babies can fly, an entire swarm can leave the cave at once!

IMPORTANT TO KNOW:
At first, I was a little sad that we couldn’t record it, but sitting in silence, just watching and listening to the faint sound of thousands of wings, ended up being my favorite part. It felt peaceful and special. Here’s a video I found online so you can see what it looks like.
The bats continue leaving for 2–3 hours, but eventually it gets too dark to see them.
FUN FACT: There is an “Adopt a Bat” program. It costs $10 and is a donation to the park. We loved the certificate we got.
Lodging: That night, we stayed at White’s City Caverns Inn (book here). It’s older, but it’s really clean and our room was big and comfortable. I was so happy to be there and it was my favorite place we stayed so far on our trip.
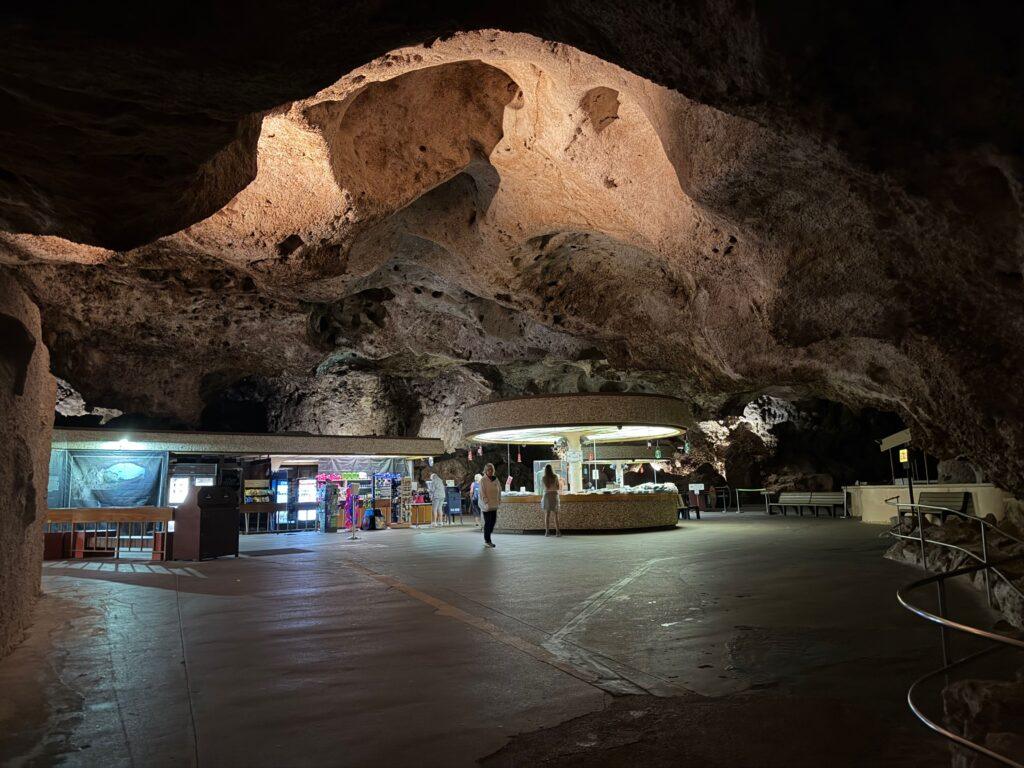
We arrived around 9:30 am and were immediately impressed:
This is where you’ll:
There is also a park film you can watch later in the day when your feet need a break.
You have two options to get into the cave:
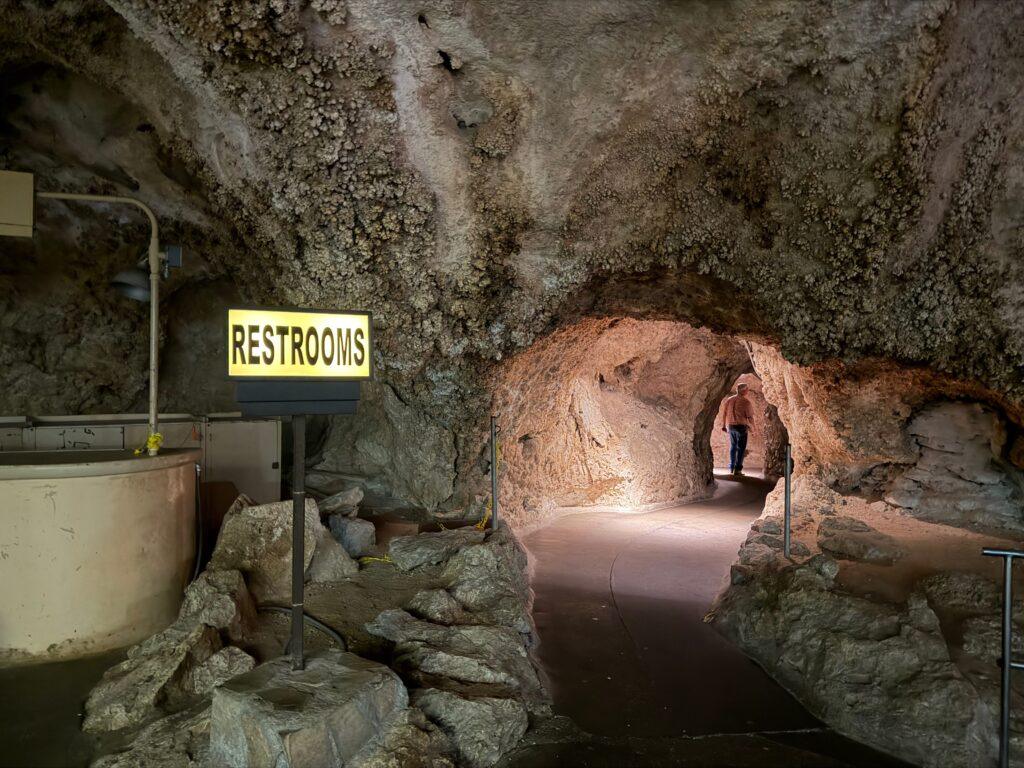
We chose the Natural Entrance, and I’m so glad we did.
From the very beginning, you’re surrounded by cave features. You don’t have to walk forever to “get to the good part.”
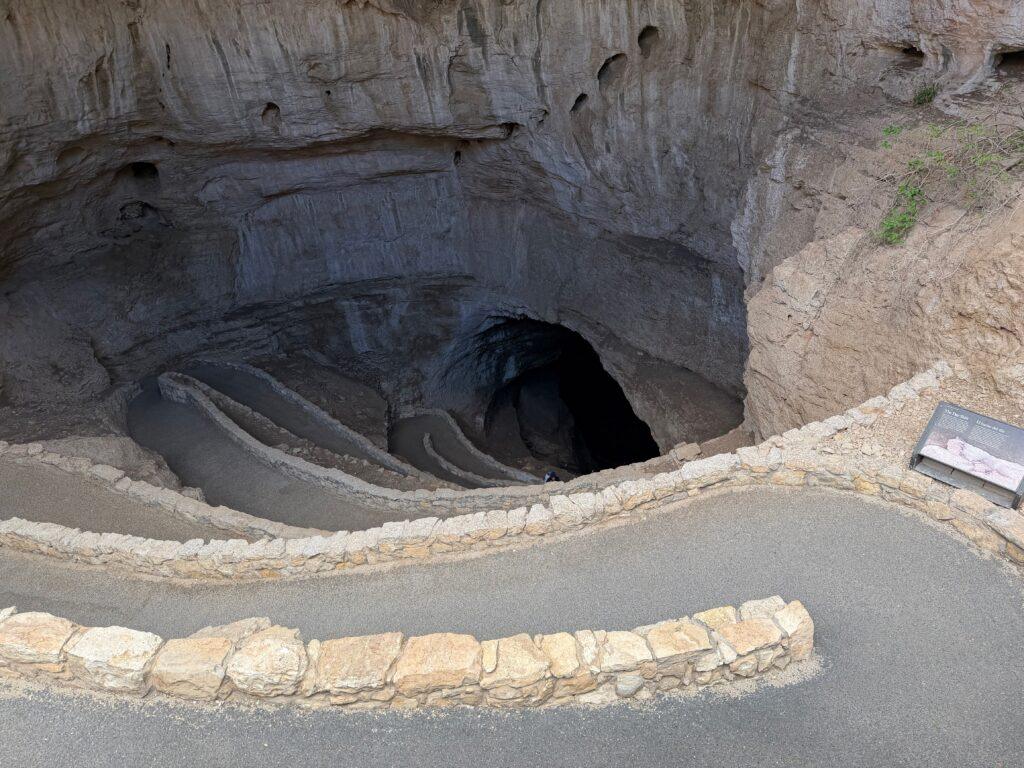
GOOD TO KNOW: The walk down is no joke. It’s a steep walk downhill and can be tough on knees and ankles. There are lots of handrails and places to stop and rest, but for anyone with even minor mobility issues, I’d skip this and use the elevator.
And yes, it smells near the entrance. There’s bat guano (another name for poop) in that area, so it has a pretty yucky smell at first. Thankfully, it only lasts for a minute.
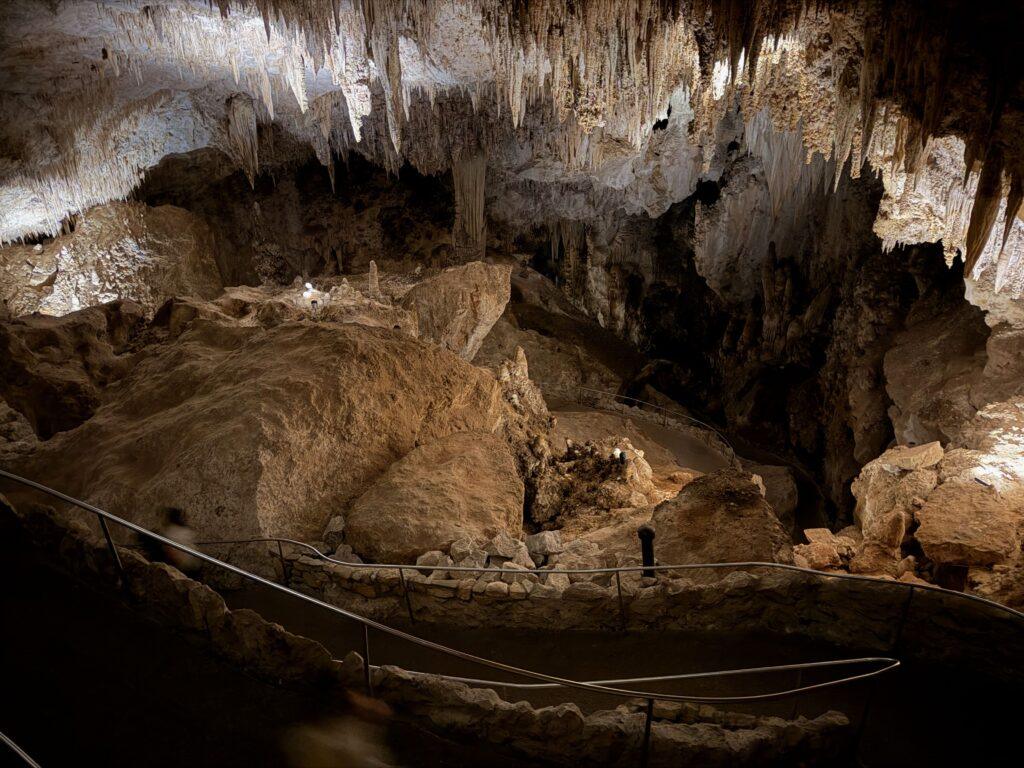
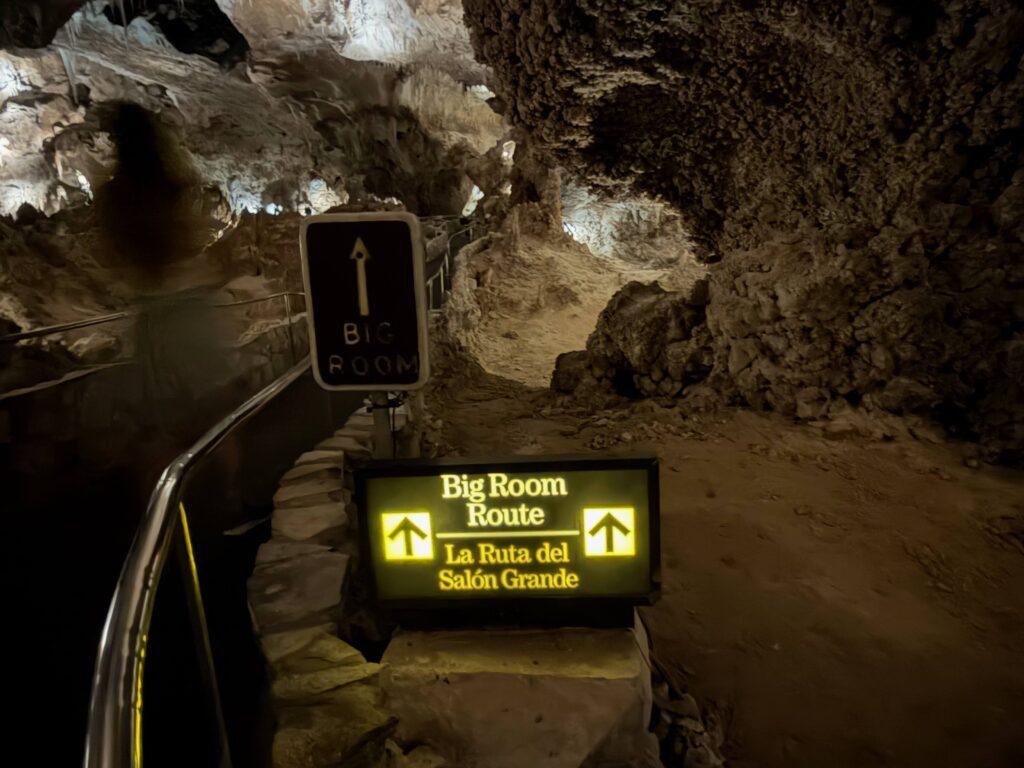
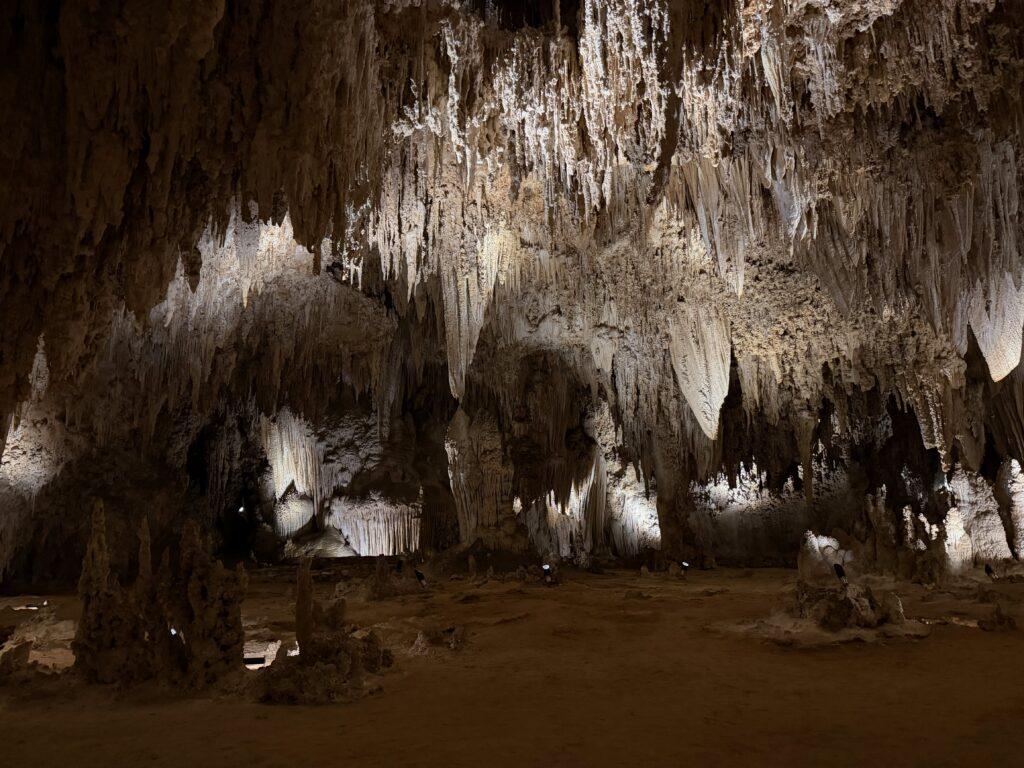
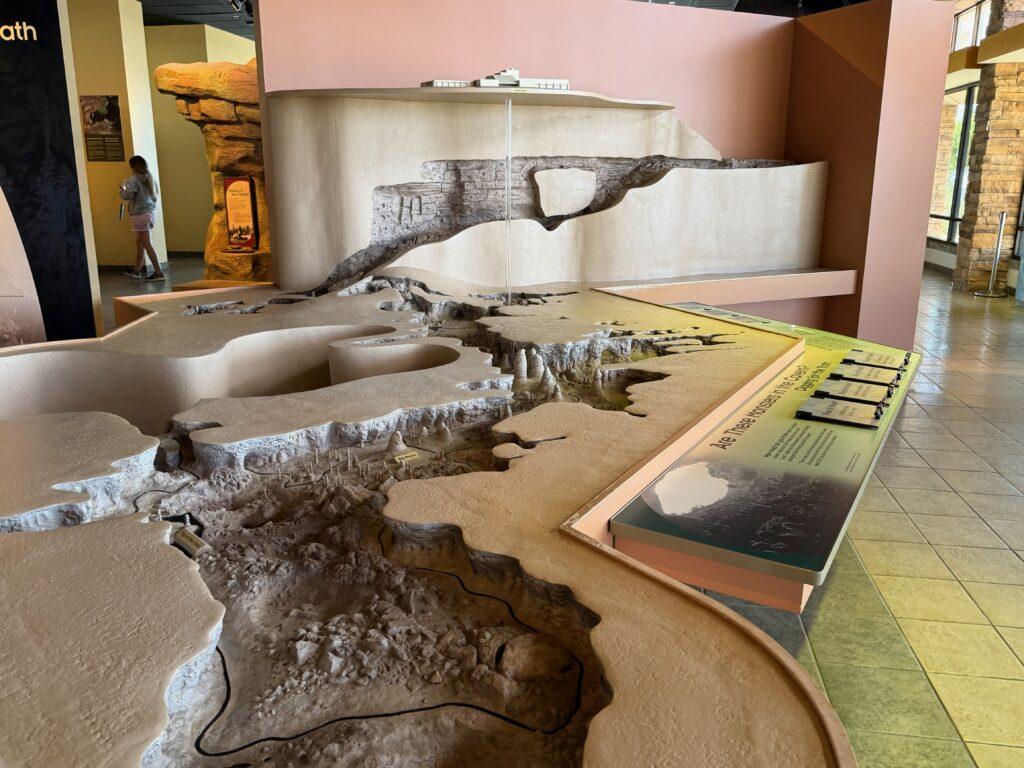
Once you reach the bottom, you enter the Big Room, which is really the star of Carlsbad Caverns.
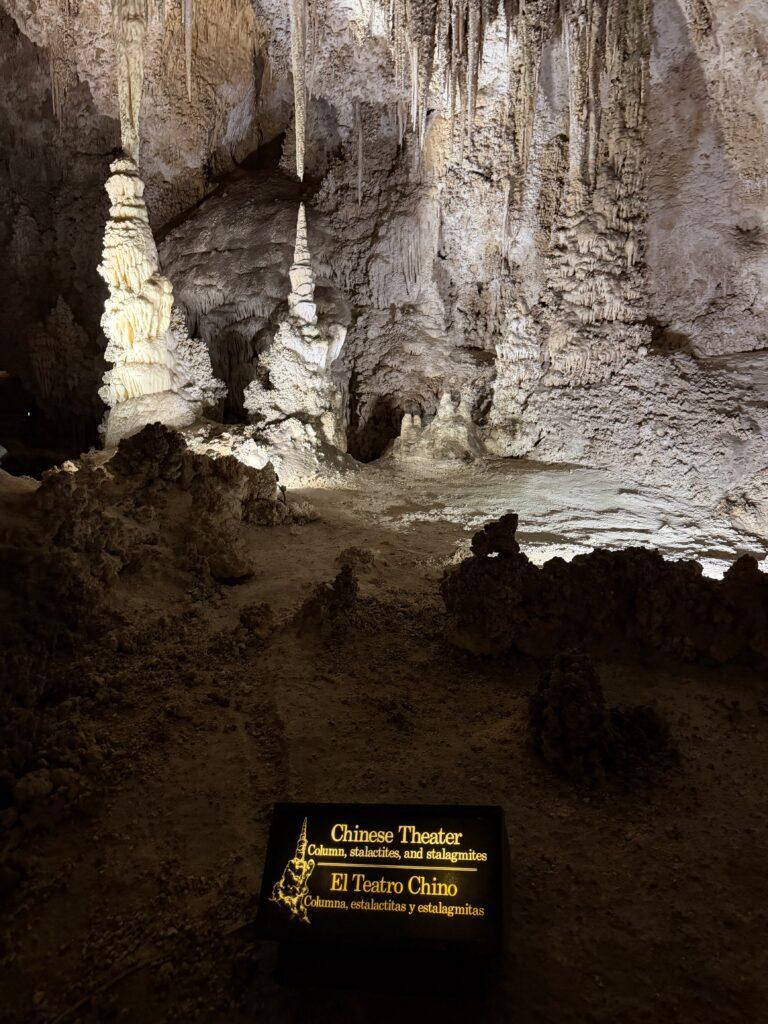
I love that the Big Room is a self-guided tour. It’s great to stop when you want and stay as long as you like. There are lots of signs explaining what you are seeing (and pointing you in the right direction). What really impressed me was that we kept turning corners and saying, “You’ve got to see this.” There are:
We picked up the audio guide before heading in:
By the time we finished, I felt like we had a much deeper understanding of what we were seeing. It also made the ranger‑guided tour later feel a bit repetitive, so if you do the audio, you can feel fine skipping King’s Palace if you’re tired.


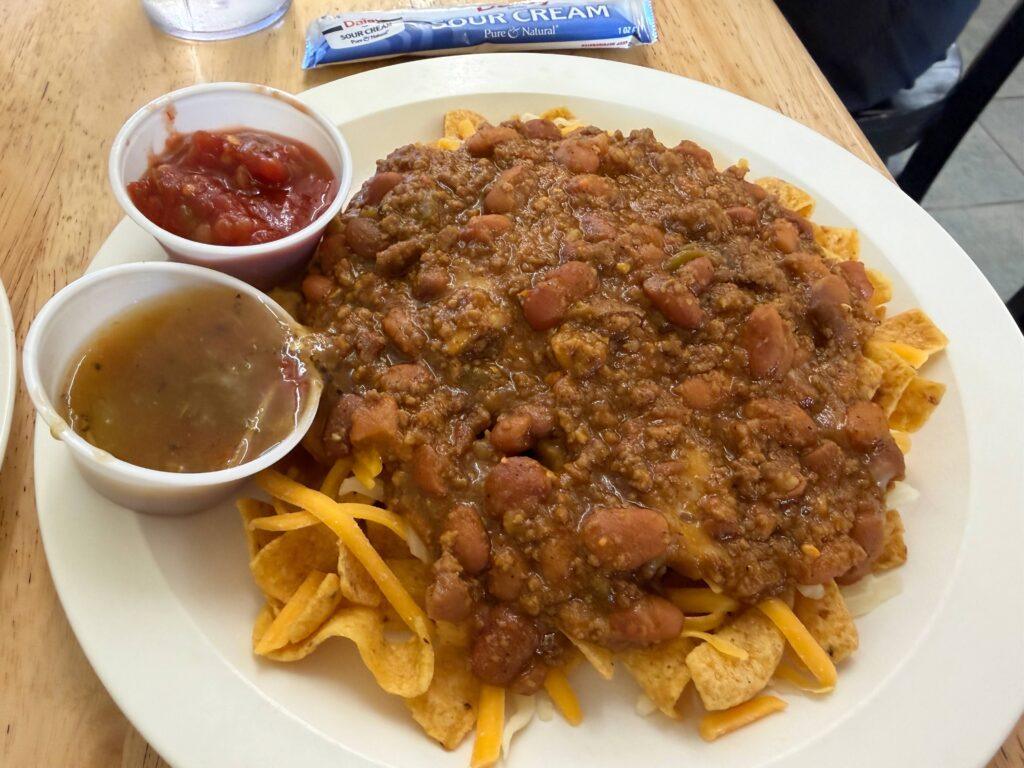
Usually, we skip the national park food. It can be pricey and isn’t usually that good. But we thought the food at Carlsbad Caverns wasn’t bad. Most of the choices are Southwest cuisine. Matt got a prickly pear pulled pork sandwich, and I got a Frito Chili pie. Both were under $15 and were pretty good. The grandparents bought some cookies and loved them.
You can also bring your own food to Carlsbad Caverns. They have a nice picnic area overlooking the valley. There’s no shade, but we enjoyed the picnic dinner we had there the night we arrived.
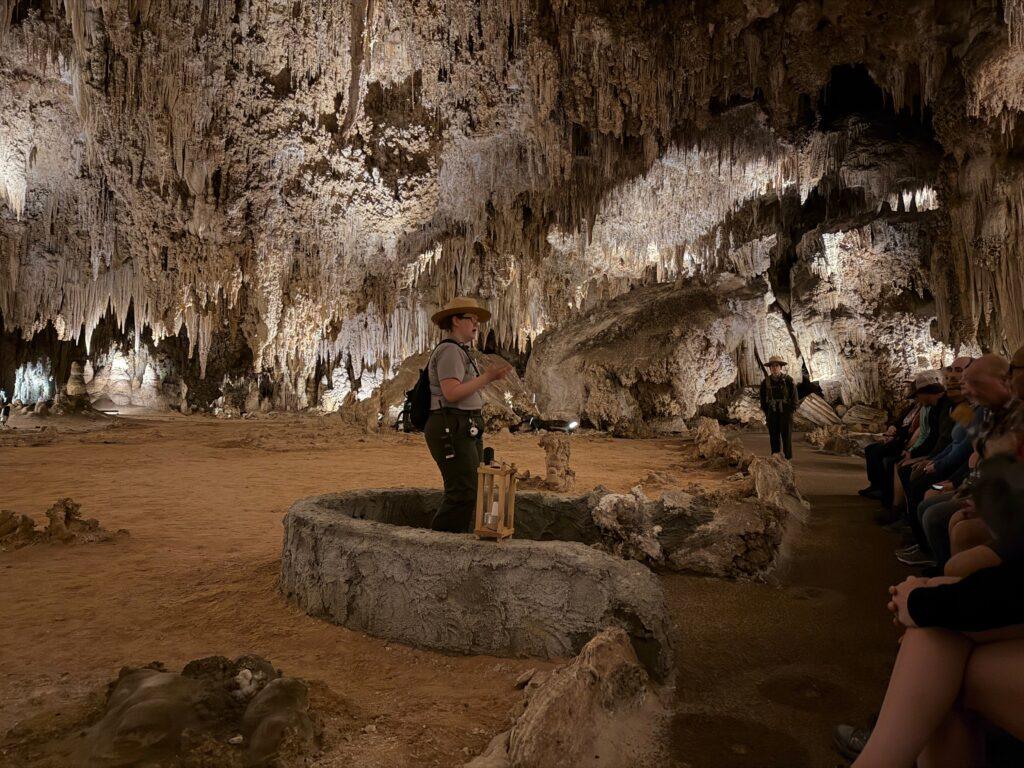
In the afternoon, we did the King’s Palace tour, which started at 1:30 pm and lasted about 90 minutes.
Here’s what to expect:
It’s a slower‑paced experience: you walk a bit, then stand or sit while listening and asking questions.
We enjoyed the formations. They are closer to the ground, which is why it’s a ranger-guided program. People have vandalized the cave in the past.
I thought these caverns were just a tiny bit better than what I saw on the cave tour. My husband felt they were the same.
| Who it’s great for: | Who can skip it: |
| You really love caves and want more time underground | You already did the audio tour and feel satisfied |
| You didn’t do the audio tour and want more education | You’re tired, short on time, or traveling with younger kids |
We were glad we did it, but I didn’t feel like we would have “missed” Carlsbad Caverns if we hadn’t. The Big Room carries the day.
After riding the elevator back up, we spent some time in the visitor center:
This is a great time to:

We didn’t do the Walnut Canyon Desert Drive because it was closed due to flood damage during our visit, but it’s worth mentioning so you can decide if it belongs in your day.
When it’s open, Walnut Canyon Desert Drive is:
You’ll see desert plants, ridges, and a few viewpoints. It’s more of a quiet desert drive than a “wow” road like some other parks have. If you have extra time and higher clearance, it can be a nice add‑on. If not, you’re not missing the core Carlsbad experience by skipping it.
Always check current conditions at the visitor center, because this road has been closed on and off due to damage.
Timed-entry required: The cave can only hold so many people, so this park has a timed-entry system. Learn more on their website.
Cell Reception: You’ll have no reception while in the cave, but the gateway towns of Carlsbad and White’s City have service.
Ideal Visiting Season: The bats are migratory and begin arriving in late April and stay through the end of October. The best time to view them is in September/October when the bats fly out with their babies.
Dogs: Dogs are not allowed in the cave, in the visitor center, or on hiking trails, but a kennel service is offered at the park.
Lodging: Drive to Roswell and stay the night. We stayed at the Roswell Inn (book here), which had some alien theming. It was clean and got the job done.
Read more about Carlsbad Caverns in our article One Day in Carlsbad Caverns National Park (+ Where to Eat and Stay).
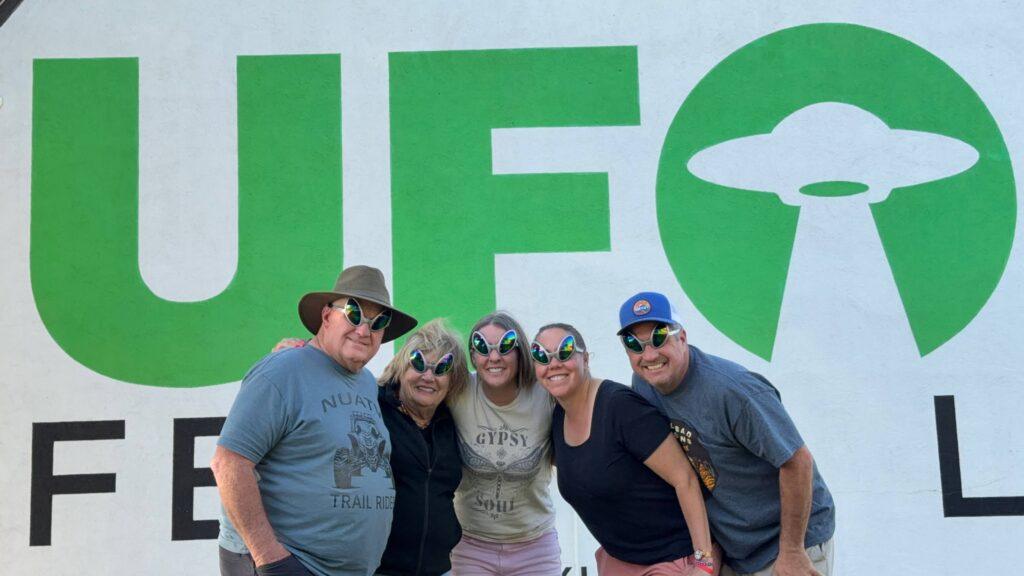
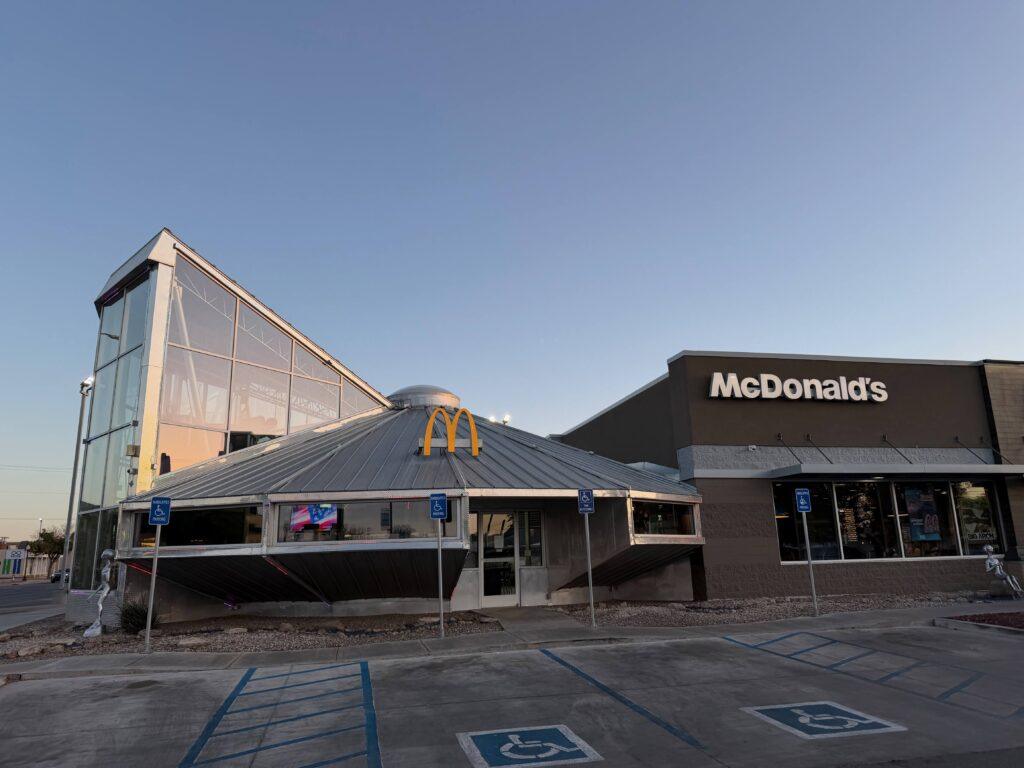
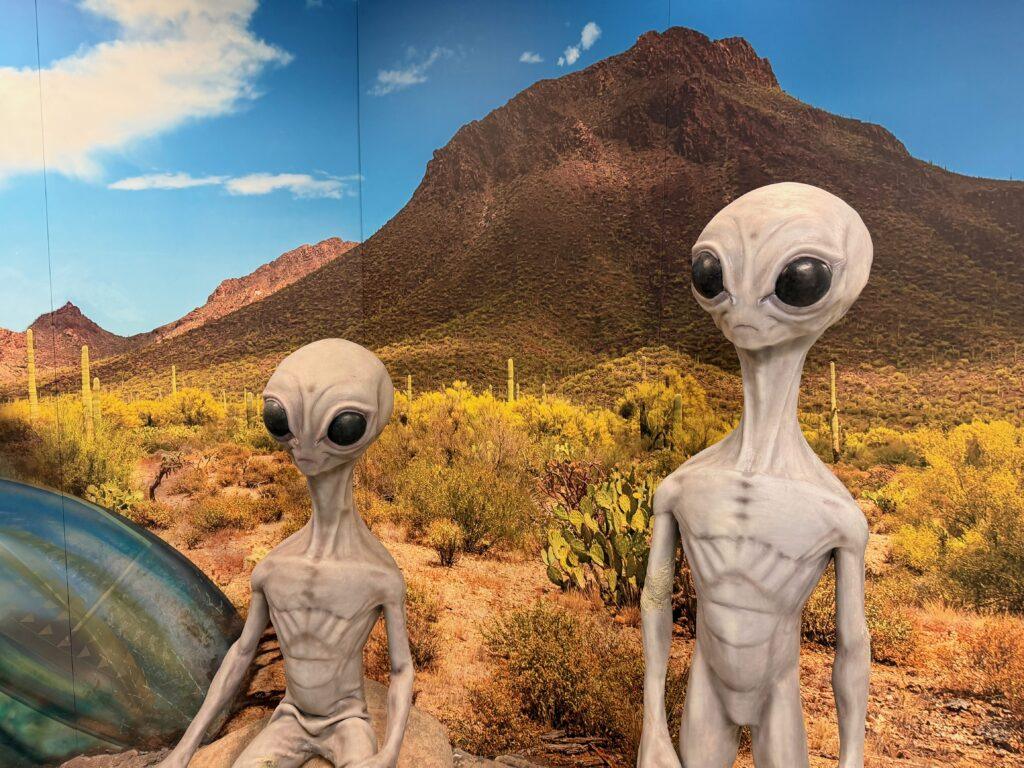
Roswell’s claim to fame is that there have been a few alien sightings that have taken place here. The town really leans into this and you can find several stores with alien merch, alien-themed restaurants, murals, and even a UFO museum.
You can learn alot by stopping by the Roswell Visitor Center or visiting their website. You can get a map that shows you where everything is.
We enjoyed spending a couple of hours taking pictures in front of murals, visiting the International UFO Museum, and getting a cheeseburger at the UFO-shaped McDonald’s.
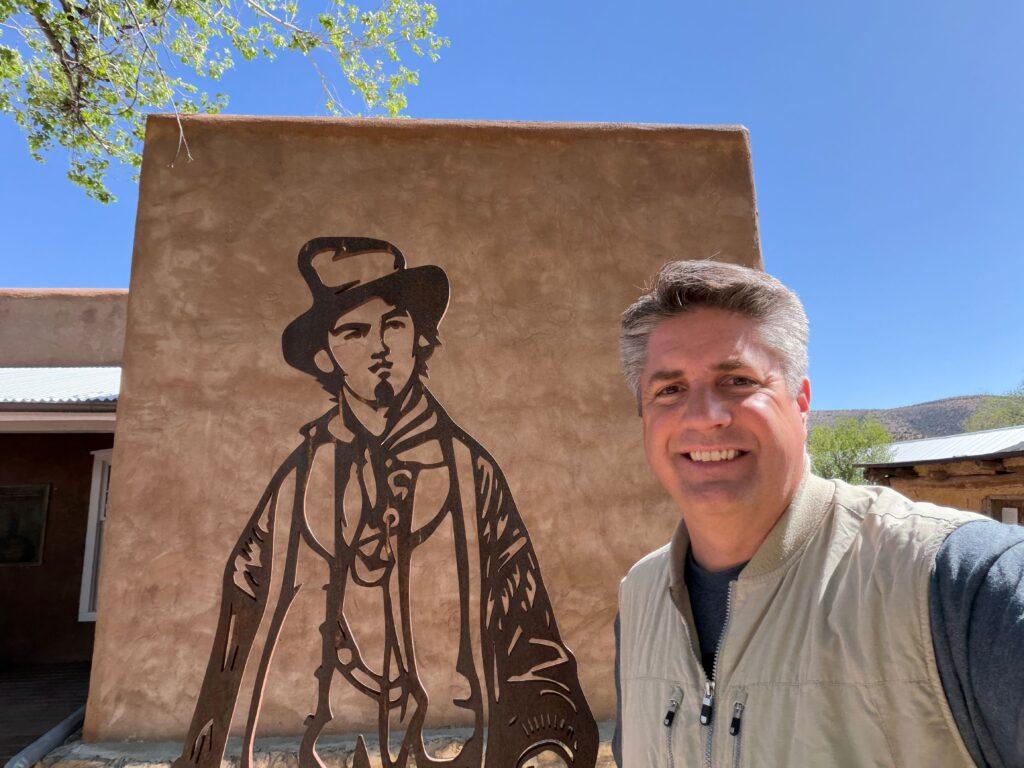
As we made our way to White Sands National Park, we made a quick stop at the Lincoln County Courthouse, where Billy the Kid escaped from jail. There are a few small museums in town and the small fee gets you into all of them for the day.
We really enjoyed the self-guided walking tour through the courthouse. It led to an interesting debate that lasted the rest of the day… was Billy the Kid a good guy or a bad guy? What about the sheriff, Pat Garret, who eventually shot him?
This was another quick stop we made on our way, but an interesting one. Did you know that Smokey the Bear was a real bear and the longest ever advertising campaign in the United States?
You can learn fun things like this and more at this short stop (less than an hour). There is Smokey Bear merch, memorabilia, and even his grave.
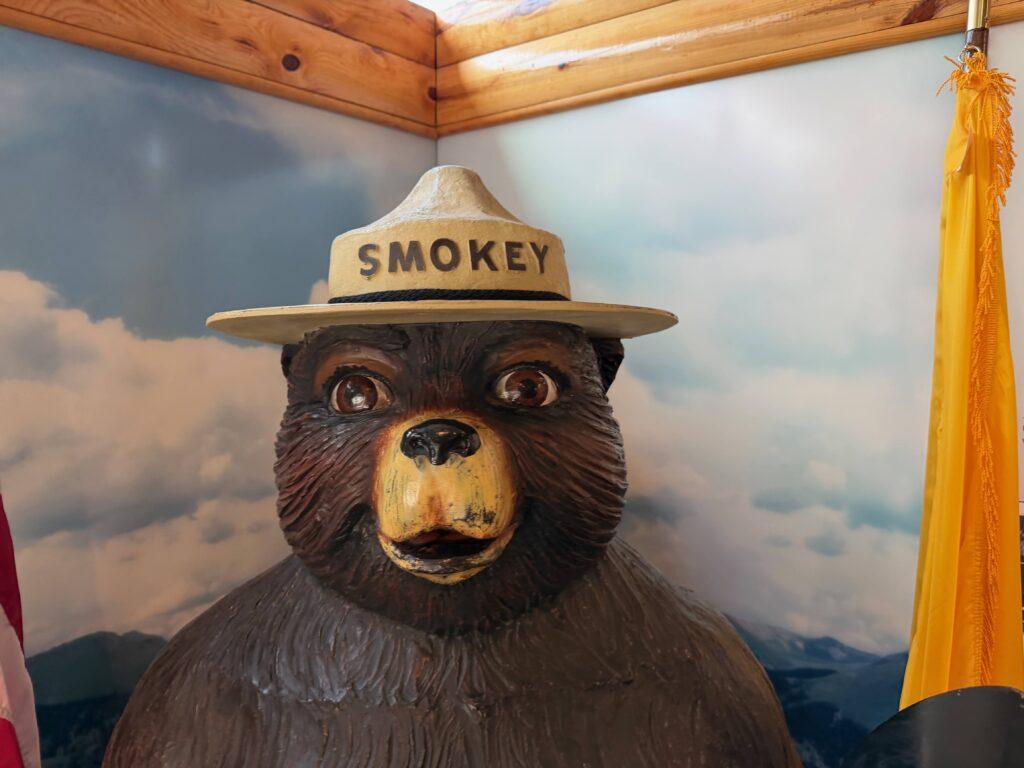
FUN FACT: Smokey was an orphaned cub because his mother was killed in a forest fire. He lived a lot of his life at the National Zoo. When he died, he was made a federal employee and his body was shipped back to Capitan, New Mexico, to be buried.
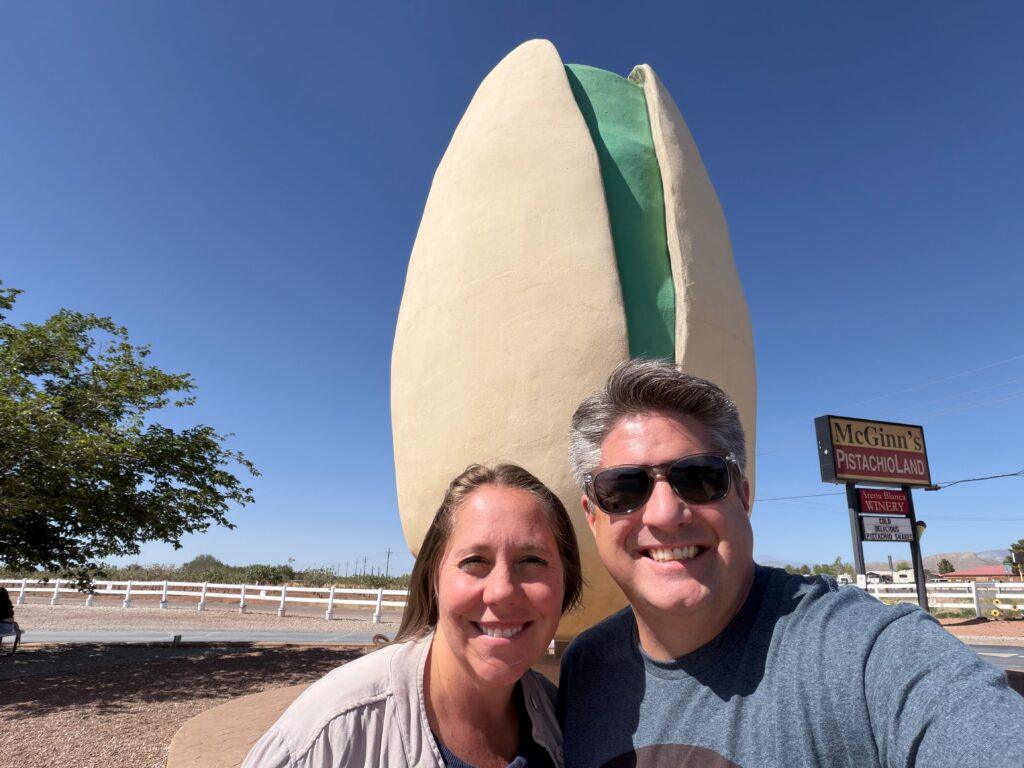
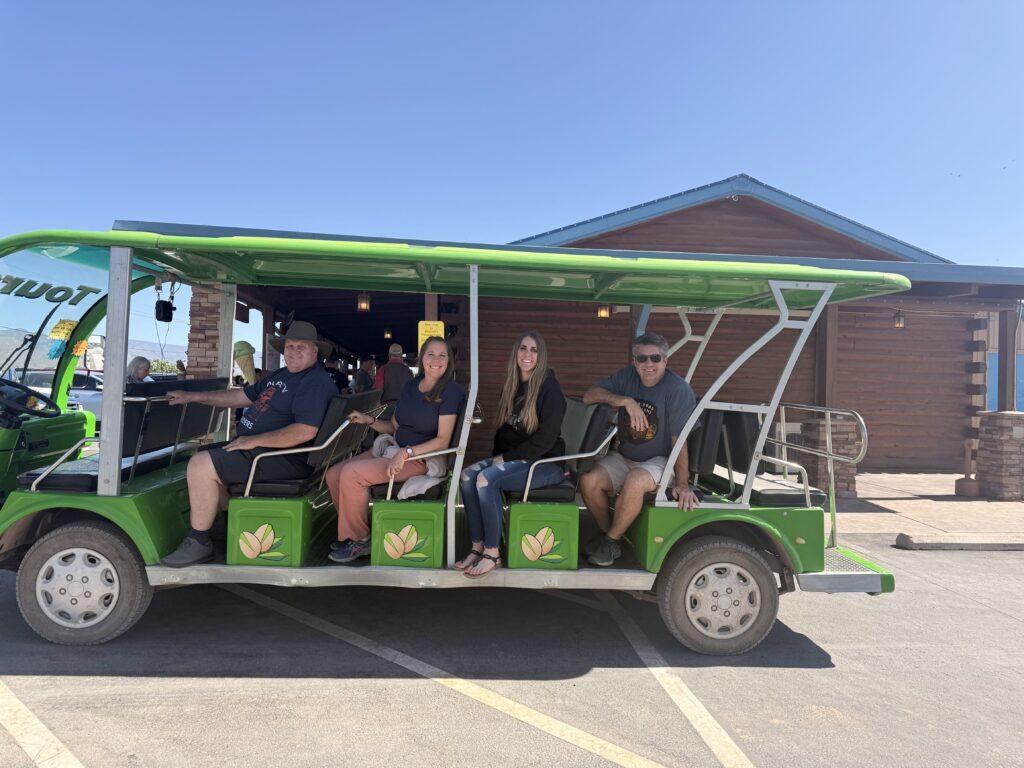
Located in Alamogordo, NM, PistachioLand was my very favorite roadside stop! It only took about one hour and is completely free, though I highly recommend taking the $5 pistachio farm tour.
The tour only took 30 minutes and our tour guide drove us around in a cute, little open-air car. She explained that there are male and female pistachio trees AND that they don’t produce any nuts until they are over 20 years old!
There is a large store filled with pistachio-themed merch AND… they have free pistachio samples. The habanero chile was my favorite. I also bought a pistachio ice cream cone and it was wonderful.
The last thing to do before you move to your next stop is to snap a pic with the world’s biggest pistachio. It’s over 30 feet tall!
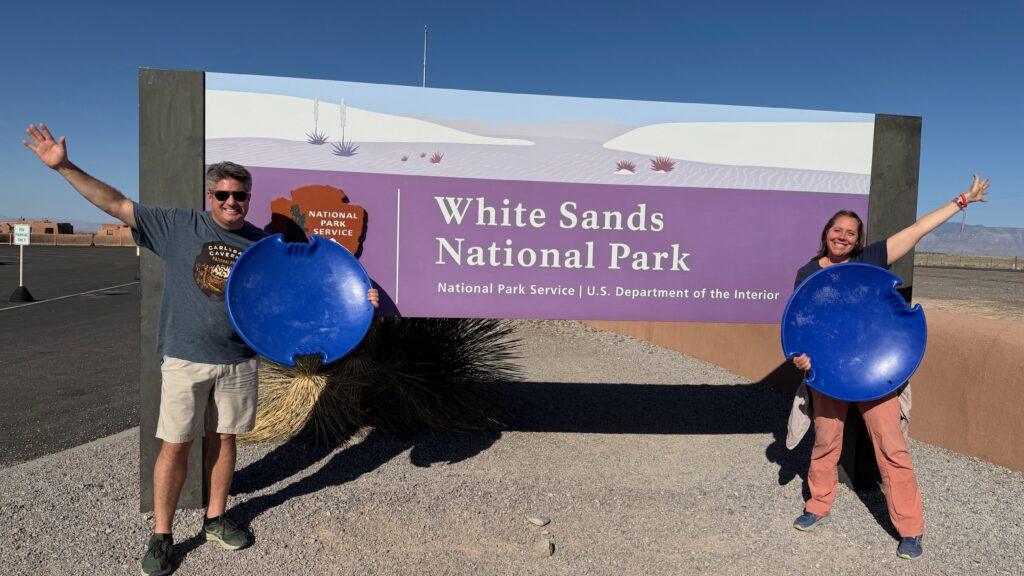
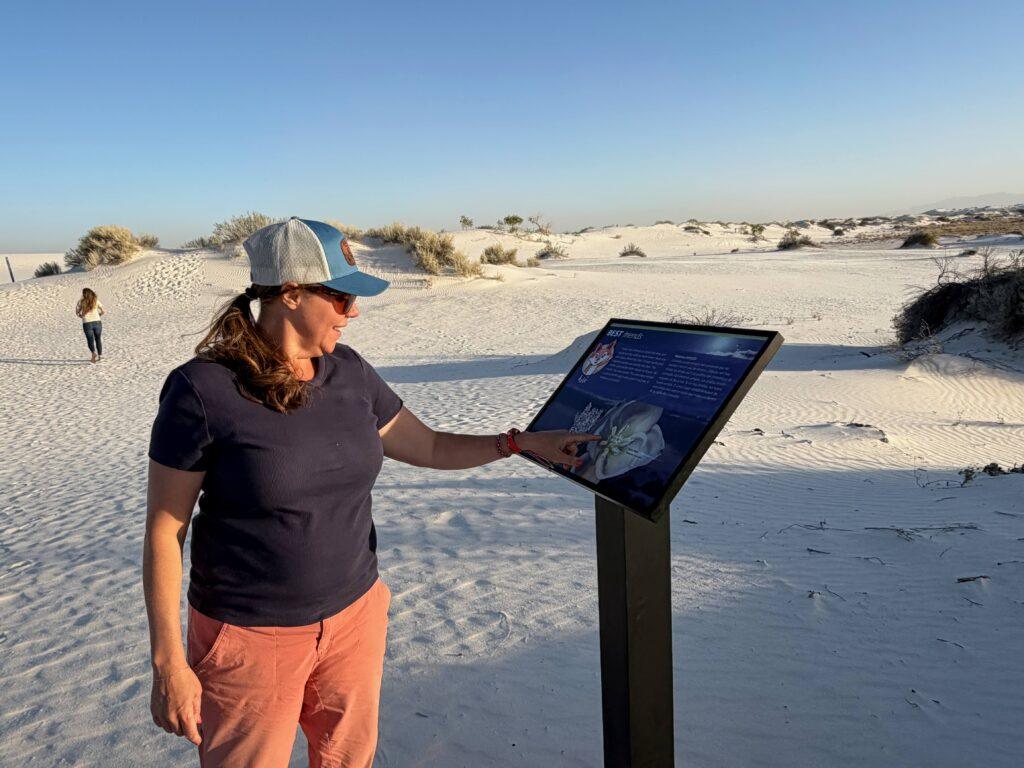
We arrived around 4:00 pm, just in time to check out the small White Sands Visitor Center, get our national park passports stamped, and pick up a souvenir pin. A gift shop is also on-site. This is important because they rent and sell saucers and boards to slide down the dunes on.
Next, we did the Dunes Drive. It’s 8 miles long and takes about 45 minutes. At first, you are on a regular road and most of what you see is sand with lots of weeds in it, but as you progress, the road turns a perfect white color and the weeds disappear.
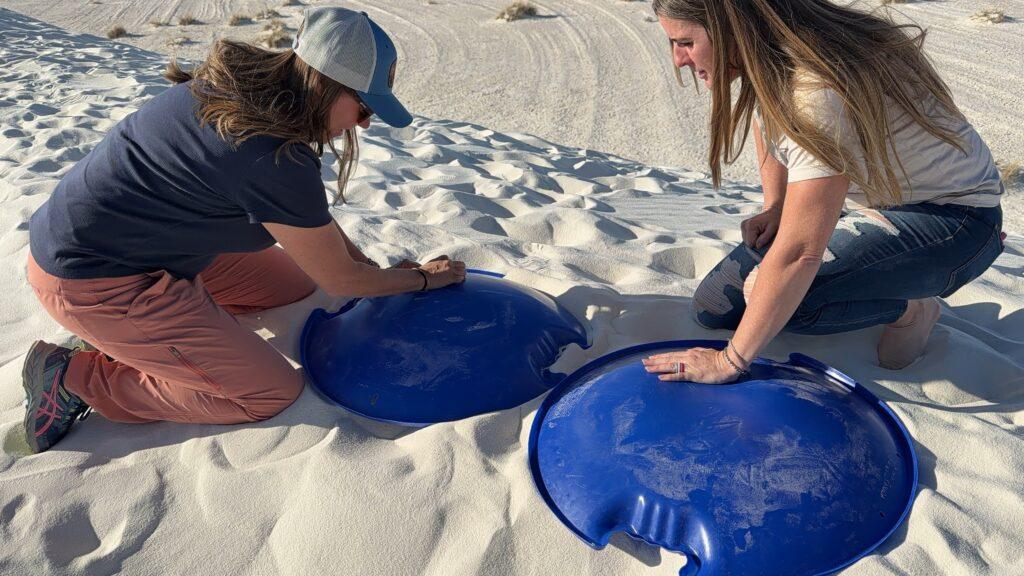
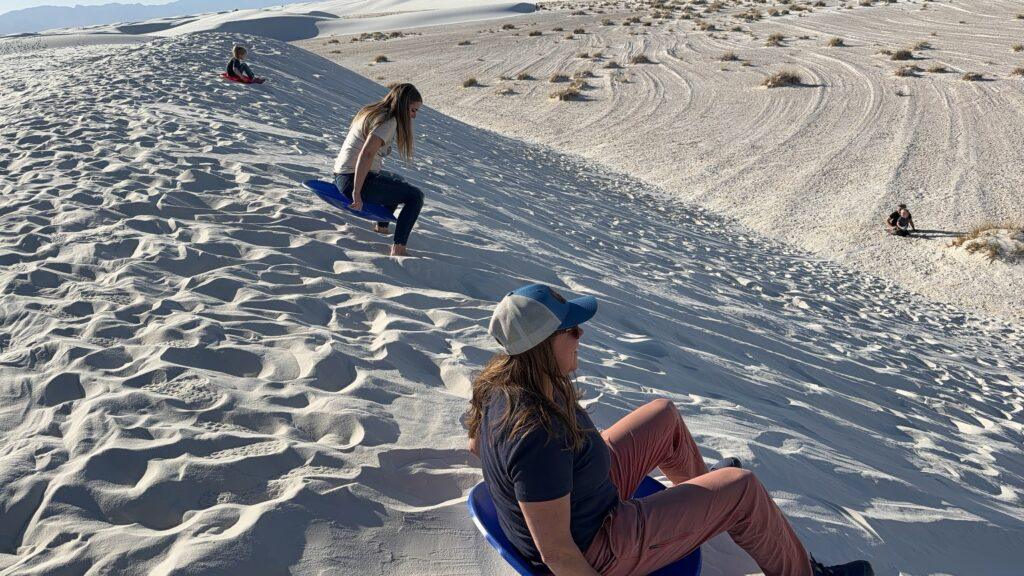
There are several pullouts for hiking trails, picnic areas, viewpoints, and my favorite…SAND SLEDDING.
Find the steepest hill you can. There is a lot more friction with sand vs snow. If the hill isn’t steep enough, you won’t go.
The steepest hills are toward the end of Dunes Drive.
Don’t forget the wax. Wax is sold at the gift shop for a couple of bucks. Rub it all over your sled before each run.
Know the rental hours. You can rent a sled, but you will be limited to the rental hours. It’s nice to sled in the evening when it’s cooler.
Honestly, climbing those dunes is hard work, so you’ll probably go down a few times and be done for the day. One of the nice things about climbing to the top of the hill is that it gives you a much nicer view of the dunes. I loved watching the sun set from up there.
If you have the time and energy, take a hike through the dunes– it’s not as bad as it sounds. The sand is more compact than it looks and it’s fun to follow the poles that mark the trail. We did the Dune Life Nature Trail. It was a one-mile loop, only took about an hour, and was easy. We enjoyed learning about the dunes and the wildlife that live there by reading the signs as we hiked.
Cell Reception. You may have some service, but don’t plan on it.
Ideal Visiting Season. Spring and Fall. Temperatures can get to over 100 degrees in the summer.
Dogs. This is one of the most dog-friendly national parks! They are allowed on the dunes. Just make sure to keep your doggo on a leash and clean up after it.
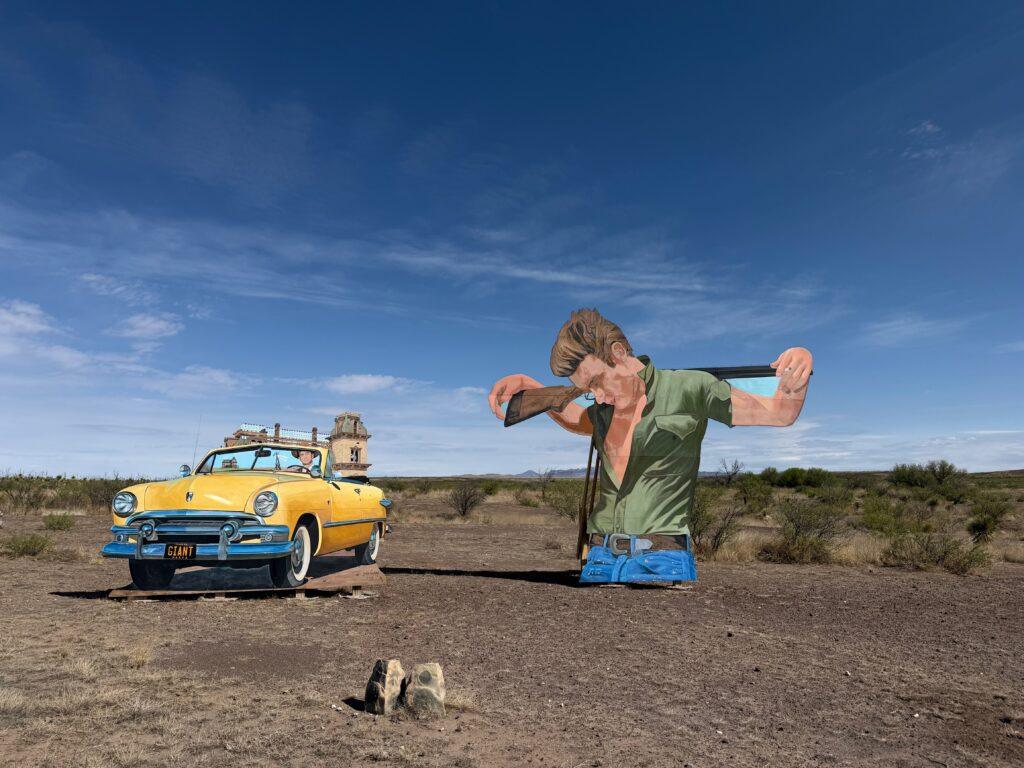
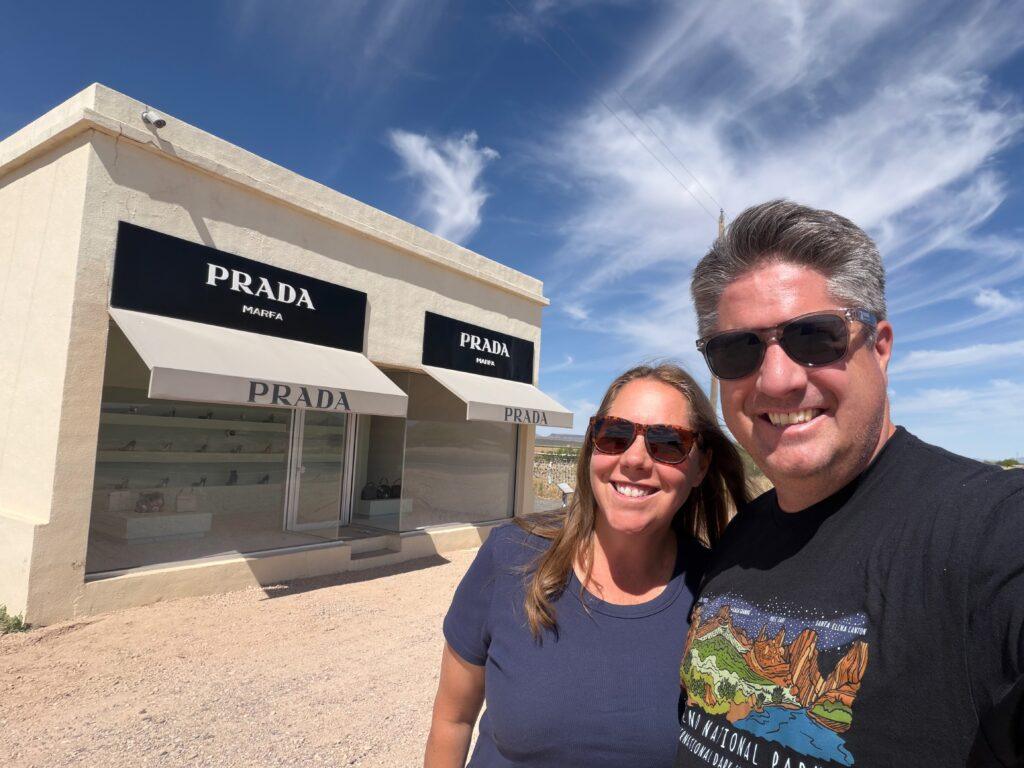
There were several other stops we made on our way back to El Paso, TX, as well as other stops we made throughout the trip. Here’s a list of things you can do if you are interested.
This area gets HOT in the summer, especially Big Bend. The best months to visit are March, April, and November to avoid the heat.
However, if you are only visiting Carlsbad Caverns, the peak time to view the bats exiting the cave is August and September when the babies leave the cave with their mothers.
Although this region is remote, Big Bend, Guadalupe Mountains, Carlsbad Caverns, and White Sands National Parks are a rewarding and almost crowd-free experience. Give yourself at least a week to see everything (and everything in between!) and the driving to sightseeing ratio will be perfect.
13 road trip ideas across the West so you know where to go, how long to stay, and what to see
*Sample routes from 4–31 days across national parks and hidden gems
*Driving times + best stops so you don’t miss the good stuff
*Season + weather notes to avoid closed roads and peak‑crowd days
*Lodging ideas in the right spots so you cut backtracking
One Day in Carlsbad Caverns National Park (+ Where to Eat and Stay)
One PERFECT Trip to Big Bend National Park (2 Days + Bonus Day in Mexico)
How to Visit Chaco Culture National Historic Park: One Day Guide
One Perfect Day in Petrified Forest National Park
How to Visit the Four Corners: Perfect 7-Day Itinerary