Zion National Park is famous for having some of the best hikes in the world, such as Angels Landing, The Narrows, and the Subway. One hike that is often overshadowed is the Emerald Pools.
The Emerald Pools in Zion consist of three different pools – Lower Pool, Middle Pool, and Upper Pool – and even a waterfall. The pools are easy to visit, and one section is even handicap-accessible. The hike is actually a series of trails leading to the pools from multiple directions. These trails are called the Lower Emerald Pools, Middle Emerald Pools, Kayenta Trail, and Upper Emerald Pools.
Visiting the Emerald Pools is one of my favorite things to do in Zion!
Keep on reading because, in this article, I’ll simplify the trails for you so you can decide which route you should take.
DON’T MISS: More great hikes in Zion, including Angels Landing and The Narrows.

The Emerald Pools are three small pools – perhaps emerald in color – located in a side canyon in the main portion of Zion National Park.
All three are formed by water runoff from the canyon wall. The Middle Pool flows over a cliff to the Lower Pool, creating a small waterfall.
In 2010, a mudslide ruined the trail, closing it for 10 years. It cost $1.2 million to fix. The trail reopened in 2020.

Get our done‑for‑you, 3‑day plan with exact drives must‑see stops so you don’t waste time in traffic or miss the best views.
Inside the guide:
*Step-by-step plan for Zion to get you to the best hikes, drives, views, and away from the crowds
*Exact time frames and star ratings for hikes and activiites so you get the best value for your time and money
*Includes audio stories to listen to as you drive
*Best Friend Guarantee: love it or get your money back
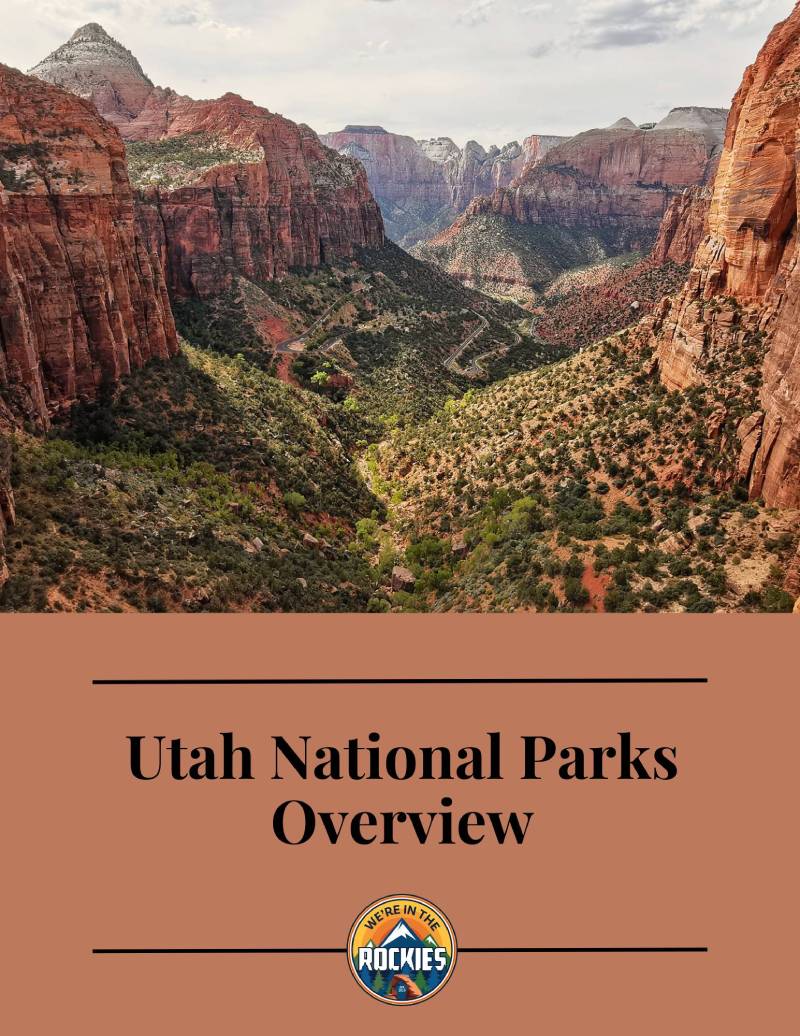
*Visiting Utah’s 5 National Parks– Save big $ and get a plan for Zion, Bryce Canyon, Capitol Reef, and Arches & Canyonlands. Learn more here

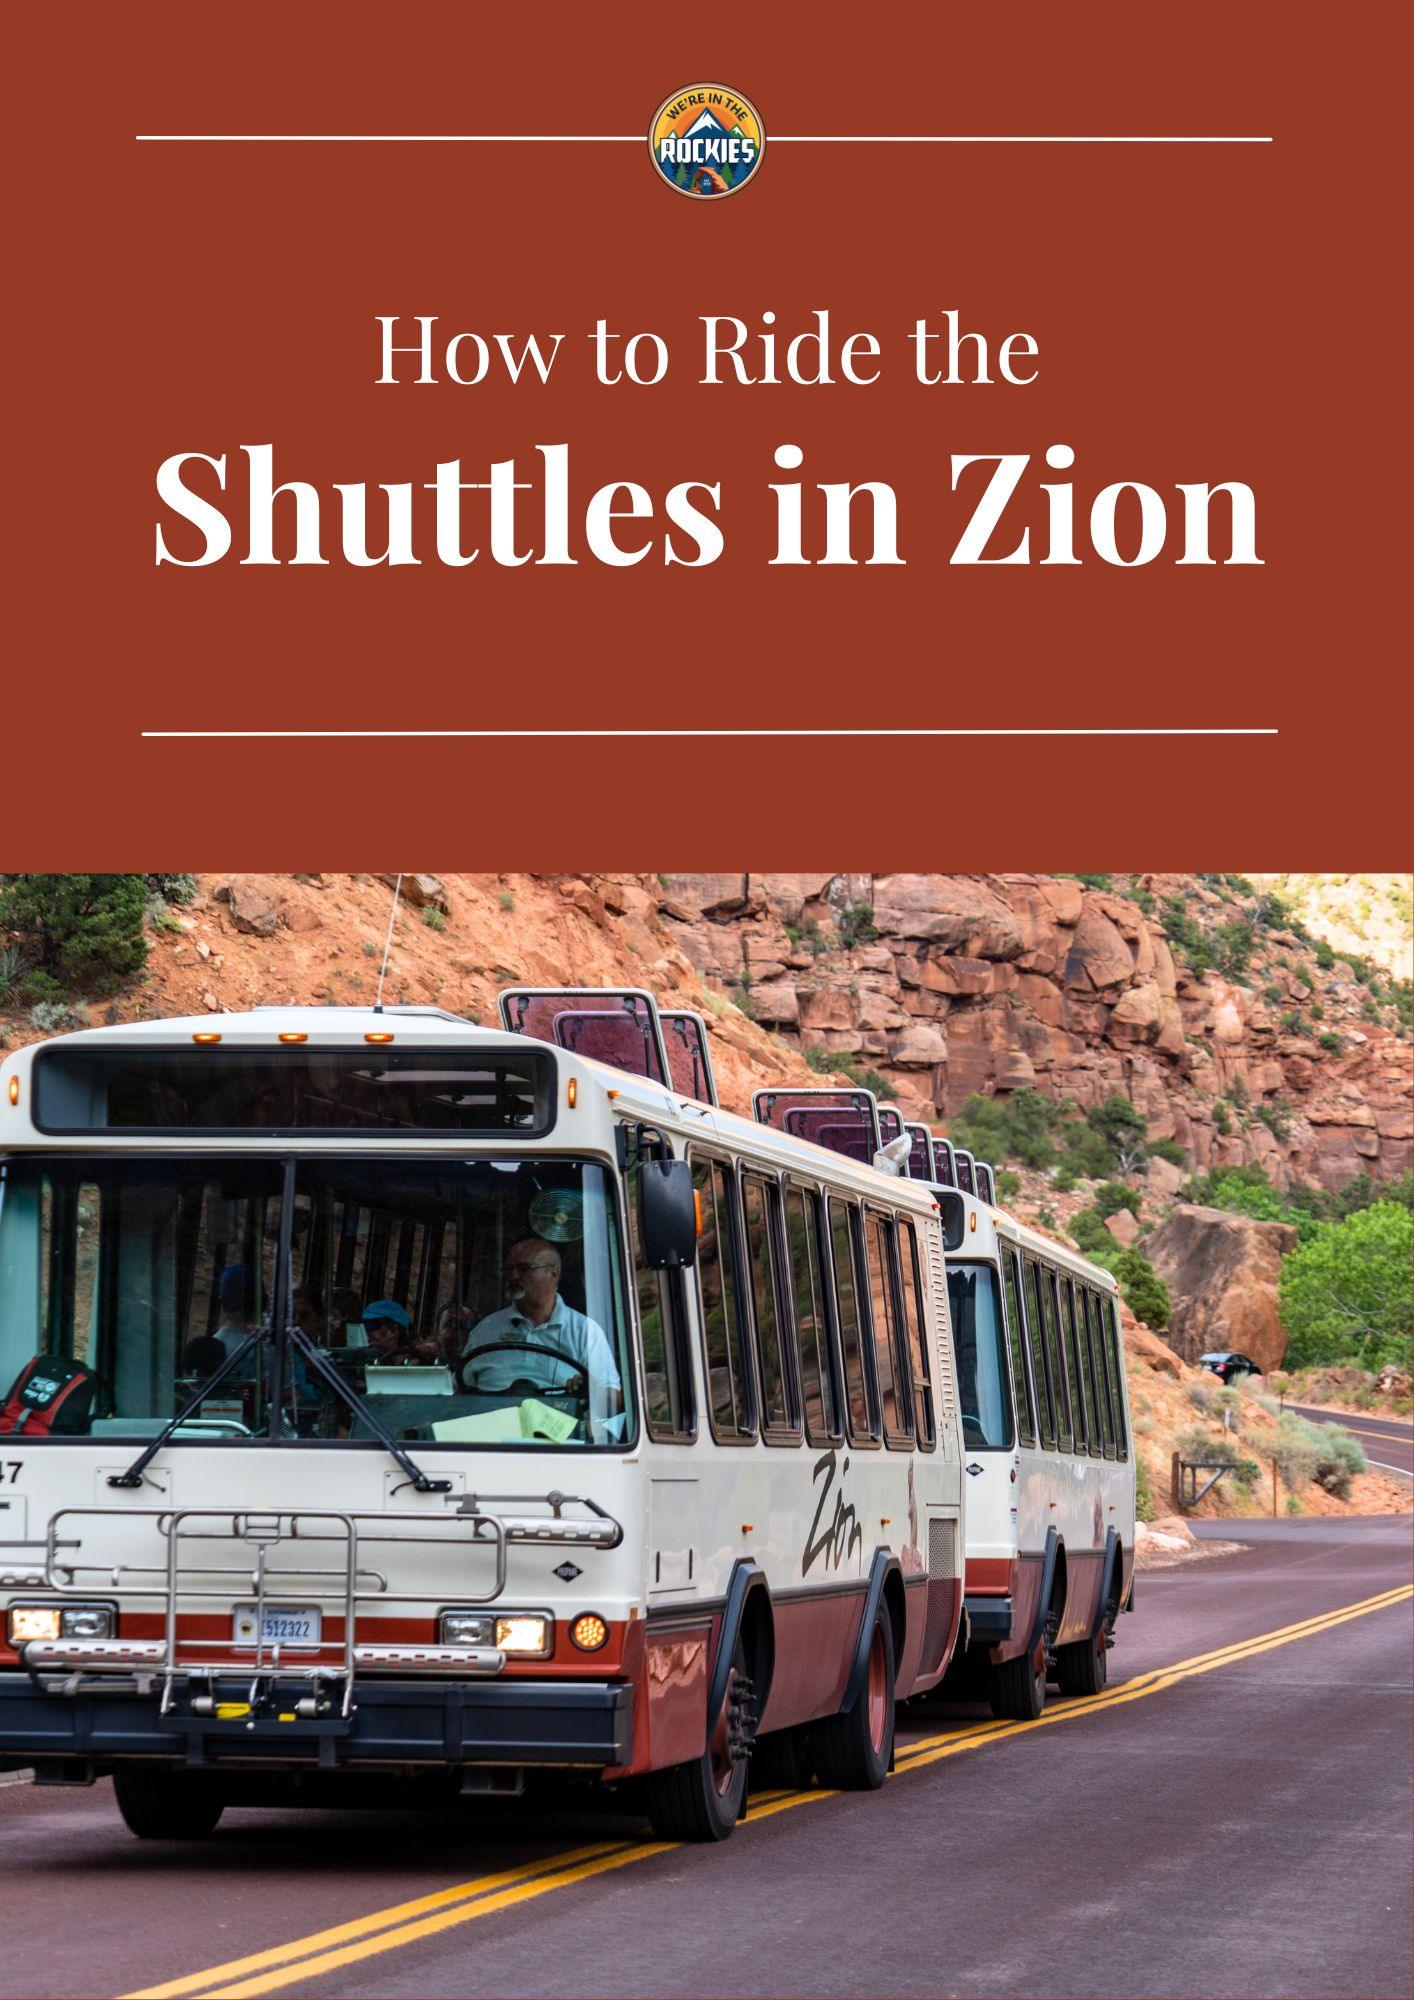
To get to the Emerald Pools, when shuttles are running, park at the south side visitor center and get on the shuttle (no tickets or reservations needed). Shuttles leave the visitor center every few minutes. Read more about how to use the shuttles in our article How to Use the Zion Shuttle System.
If the shuttles are not running, drive your car up Zion Canyon and park at shuttle stops 5 or 6 to get the best access to the trails.
CHECK OUT: Can You Drive in Zion? What You Need to Know.
There are two possible entry/exit points for the Emerald Pools Trails.
The Zion Lodge Stop: Lower and Middle Emerald Pools Trails
First, you can get off at shuttle Stop 5, the Zion Lodge.
From here you can either take the paved and handicap-accessible Lower Emerald Pools Trail or the Middle Emerald Pools Trail.
Once you have reached the lower or middle pool (depending on which trail you chose), you can connect to the other trails.
The Grotto Stop: Kayenta Trail
You can also start at shuttle stop 6, The Grotto, and take the Kayenta Trail to the Middle Pool. From there, you can connect to the other trails as desired.
Thanks to Zion’s amazing shuttle system, you can start your hike at one shuttle stop and end it at the other, easily catching your shuttle to your next destination.
Alternatively, if you have enough energy, take the delightfully less-crowded walk along the Grotto Trail back to your starting point.
LEARN: What To Expect At Each Shuttle Stop In Zion Canyon
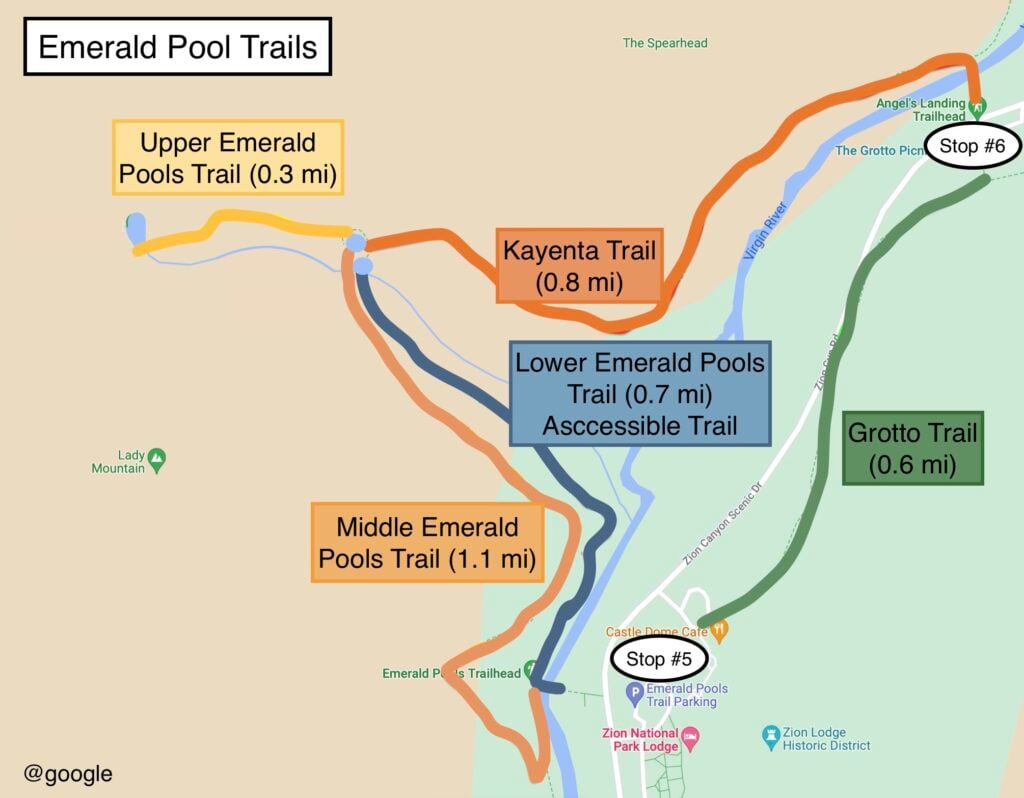
Technically, this area has multiple trails, which can be a little confusing:
Just think of this as a triangle. You can do the whole triangle or any side of the triangle you would like. And you can do it in any order or direction.
The entire triangle is around 3 miles of paved and graded trails with mild/moderate elevation changes. Warning: it does get a little steep going from Middle Pools to Upper Pools.


The Lower Emerald Pools Trail begins at shuttle stop 5. Here, you will follow the paved pathway to a waterfall and the pool. Make sure to fill up your water bottles and use the restroom at the shuttle stop before you begin your hike!
DISCOVER: Hiking In The Desert: 11 Things To Know Before You Go
You even get to walk behind the waterfall, which is incredibly neat. My kids did not stop talking about this trail after we hiked it! They were telling all their friends about the waterfall they hiked behind!
You can choose to only hike the Lower Emerald Pool, or use the Lower Emerald Pools as a starting point to get to the Middle and Upper Emerald Pools or the Kayenta Trail.
Lower Emerald Pools Trail Information:

Middle Emerald Pool is accessible from the Lower Emerald Pool Trail.
Once you have crossed behind the waterfall you will see some stairs. Go up these steps and you will find a sign for Middle Emerald Pools, Upper Emerald Pools, and the Kayenta Trail.
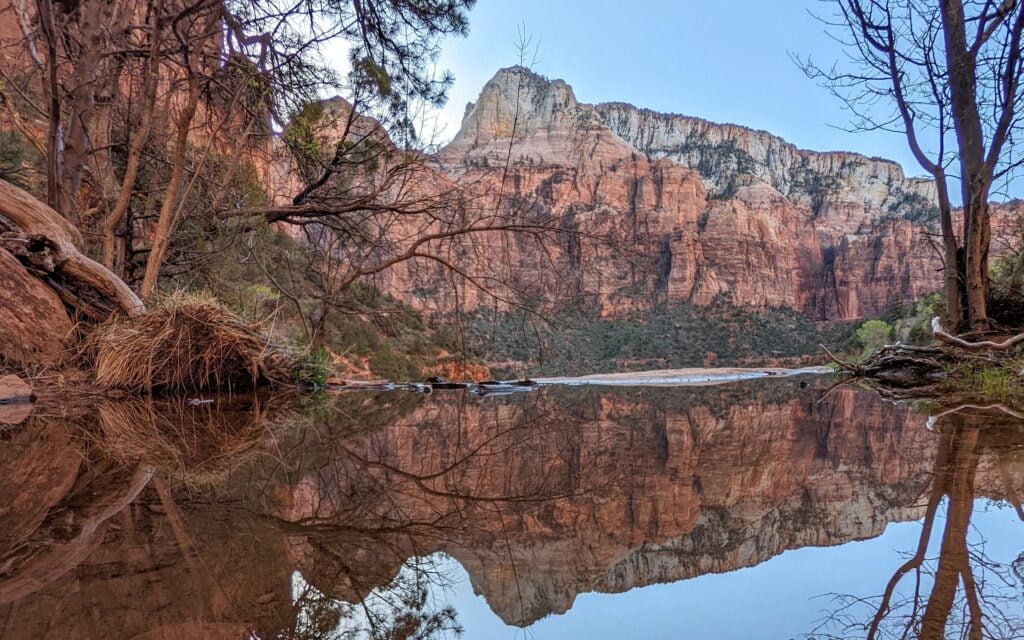
Follow the signs. You will go up some more steps as the trail winds up above the waterfall. Here you will come to the Middle Emerald Pools with beautiful reflections of the towering red rocks surrounding you! The views are stunning and well worth the trek up.
From the Middle Emerald Pools Trail, you can continue on the Emerald Pools Trail to the Upper Pools or follow the Middle Emerald Pools Trail back to the Zion Lodge.
Middle Emerald Pools Trail Information:
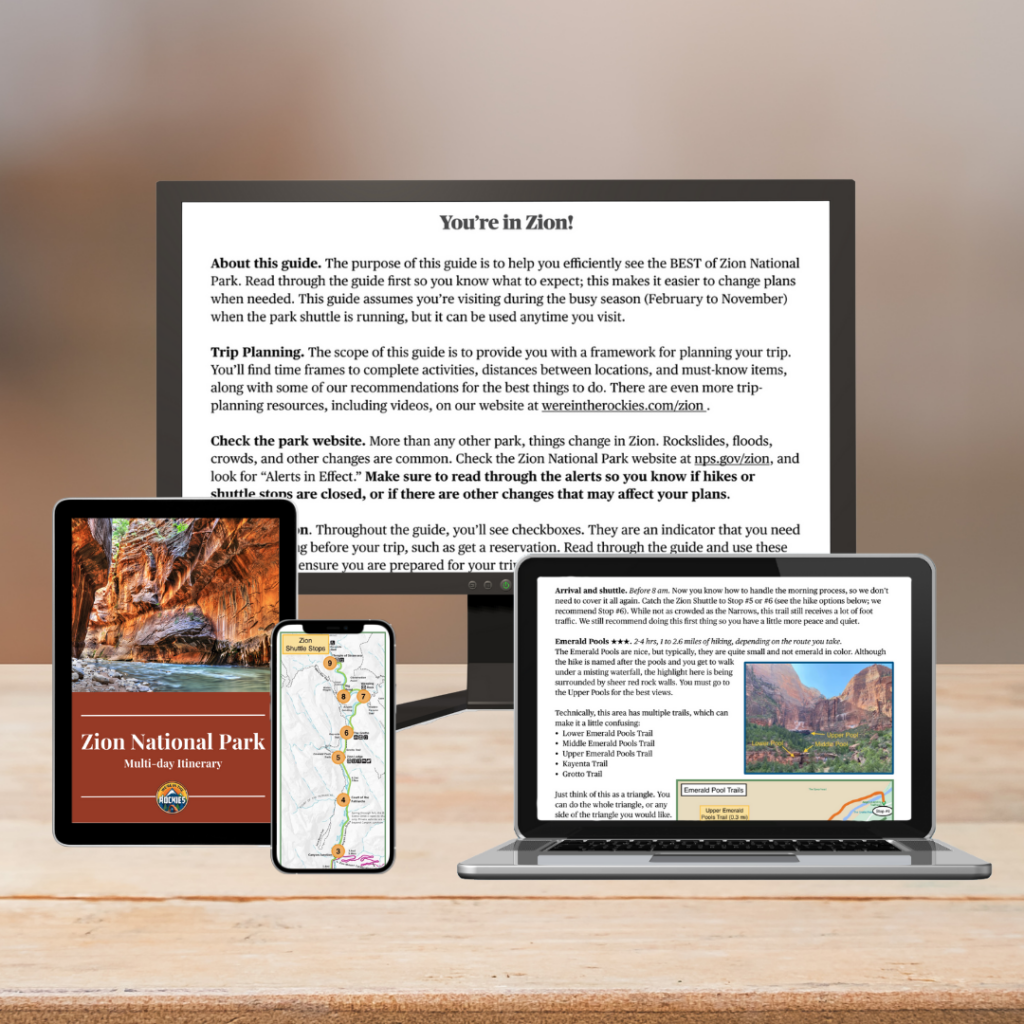
Free PDF: which shuttle to take, where to park, and what to do at each major stop
Inside the guide:
*Zion Canyon & Springdale shuttles explained in plain English
*Exact parking + timing so you avoid full lots and long lines
*Simple map you can follow even without cell service
*What to do at each main stop so you don’t waste time guessing


The Upper Emerald Pools Trail starts from the Middle Pools. You’ll ascend further up to another beautiful waterfall and pool.
This is definitely the most difficult of the three trails, however, it is the best part of the trail due to the towering canyon walls.
Although the trail is a little more difficult, it brings you to the final pool with beautiful spots to picnic and relax. There’s even an occasional waterfall.


On your way back down, you’ll encounter the Middle Emerald Pools again.
From here, you can take the Middle Emerald Pools Trail back to the Zion Lodge – Stop 5, or you can take the Kayenta Trail to the Grotto – Stop 6.
If you want to extend your hike and take in some truly incredible views, I would suggest using the Kayenta Trail to shuttle stop 6.
Upper Emerald Pools Trail Information:


The Kayenta Trail is a connector trail. It connects shuttle stop 6 to the Emerald Pools and then down to shuttle stop 5. However, it is worth the effort to take this trail!
The views from this trail are some of my favorites in the entire area. You will be hiking above the canyon with views of the Virgin River running through it. It left me speechless the entire way.
Kayenta Trail Information:

Finally, if you started on one end and finished on the other (by taking my advice to hike the Kayenta Trail), you should consider hiking the flat and surprisingly secluded Grotto Trail to complete the Triangle of Trails.
The Grotto Trail is a short trail that connects The Grotto Stop – Shuttle Stop 6 with the Zion Lodge Stop – Shuttle Stop 5. Walking this trail might even be quicker than waiting for the shuttle, considering the shuttle lines.
Grotto Trail Information:

For any hiking adventure, especially in Zion National Park, we recommend bringing:
DON’T MISS: Are Flash Floods Common in Zion National Park?
100 percent! The Emerald Pools are worth a visit and the hike to get to them! These are some of our favorite trails in the park!
The Emerald Pools themselves are nice, but they are typically quite small. Although you get to see some pretty pools and walk under a misting waterfall, the highlight here is being surrounded by sheer red rock walls and the elevated views of Zion Canyon.
From the waterfalls to the reflective pools, it is a unique and beautiful place to visit in Zion National Park.
No. In order to preserve these pools, you cannot swim or wade in them.
Get our done‑for‑you, 5-7‑day route with exact drives, maps, and must‑see stops so you don’t waste time in traffic or miss the best views.
Inside the guide:
*Day‑by‑day plan for Zion, Bryce Canyon, Capitol Reef, Arches & Canyonlands to get you to the best hikes, drives, and activities
*Details You Need: Time frames, driving routes, and where to sleep each night to reduce back-tracking
*Includes audio stories to listen to as you drive
*Best Friend Guarantee: love it or get your money back
This area of Zion National Park can get busy, as it is very popular. The best seasons to visit are early spring, late fall, and winter to avoid crowds.
However, the time of day can make all the difference. If you are going during the busy season, get there early in the morning or later in the evening. You may just have the trails all to yourself!
CHECK OUT: 9 Things We Love To Do NEAR Zion National Park
As mentioned earlier, Zion National Park can be crowded with visitors, especially during peak season! Planning and navigating a trip to Zion National Park can be frustrating because of its popularity. The crowds and shuttle system can be confusing to navigate.
Lucky for you, we have you covered. Most travelers want to visit the most popular sites, yet still, avoid crowds. We have a detailed itinerary that gives you a step-by-step game plan so you can get to the best places at the right times!
ZION TRIP PLANNER: To read or watch all of our content about Zion National Park, check out our Zion Homepage
THINGS TO DO: Don’t miss all that Zion has to offer including Emerald Pools, Angels Landing, The Narrows, and Kolob Canyons
WHERE TO EAT: Check out the best places to eat in and near Zion National Park
GREAT CITIES TO STAY OR CHECK OUT: Learn where to stay or camp when visiting Zion and explore some amazing cities nearby including St. George, Kanab, and Cedar City
KNOW BEFORE YOU GO: Find out if you need a reservation and how to use the shuttle system as well as if you can drive in Zion, which entrance to use, and how to avoid crowds
WATCH: Enjoy videos of gorgeous Zion National Park while learning our best tips for visiting by watching our Zion YouTube Playlist